
Easy Polka Dot Manicure

Polka Dot Manicure over pink background by Team Lots of Lacquer
This page contains affiliate links and this site earns from qualifying purchases made through these sponsored links.
According to Wikipedia, polka dot is a pattern consisting of an array of large filled circles of the same size.
Polka dots are fun patterns to look at.
They remind the viewer of bouncing balls, bubbles and they’re often featured on children’s toys, clothing and in upbeat vintage motifs - think: Itsy Bitsy Teenie Weenie Yellow Polka Dot Bikini.
Twinkle So Bright magazine writes polka dots became popular in 1926, when Miss America Norma Smallwood was photographed in a polka dot swimsuit.
Then in 1928, Minnie Mouse was drawn in a polka dot dress and bow. Finally, Frank Sinatra’s Polka Dots and Moonbeams from the 1940’s sealed the deal, polka dots are cool.
Polka dots can be any color but in general they are large round dots spaced out on a flat color background.
Below we are going to show you how to get this design easily on your nails.

Polka Dot Manicure supplies over pink background L to R: essie strong start, essie mademoiselle, Funky Fingers The Notebook, essie speed-setter
For this manicure you will need:
Your large dot topper can be any color you like, if you already have one in your collection, go ahead and grab it. In this tutorial we are using a black, white and pink large dot topper, as that’s what we had on hand.
Grab your materials and let’s begin.

Photo of essie mademoiselle swatch in two coats with index finger showing base coat only
Step 1
Allow at least one minute to dry.
Step 2
Once your base coat is dry, apply two coats of your base lacquer, allowing your color coat to dry fully after the first coat and second coat.
You can choose any color you think would look nice for your base. We chose pinks as the large dot topper we used had a few pink dots, so it creates a nice accent.
Don’t worry too much about getting your color coats perfect, your base color coats are mostly serving the purpose of giving your dots a nice high contrast background so they can really pop on the nail.
Any minor mistakes will be covered up and not visible to the viewer once the dots are set.
Step 3
Once your color coats are dry, roll and warm up your large dot topper. In this case, shown is Funky Fingers The Notebook.
You want the dots to be fluid and moving freely in the bottle so if your topper has been sitting unused for a bit, make sure to spend a few minutes warming the bottle.
This ensures a more even distribution of dots when it is time to apply them to the nail.
Now take the brush from the dot topper out of the bottle and dip it back into the dot topper fluid a few times, to ensure there are plenty of dots on the brush.
When the brush is full of dots, dot on the dots to the nail using the brush.
Use the brush as a dotting tool to place the dots right where you want them to go, making sure they are spaced evenly and covering every bit of the nail. Repeat with each nail and allow it to dry.
Step 4
If you want more dots on the nail, apply a second coat of your dot topper, using the same process as Step 3.
When you are comfortable with the number of dots you have on each nail, move to the next step.
Step 5
The dot topper will likely have a rough texture on your nail, as shown below.
You may have some dots that aren’t laying exactly flat or hanging off the edge of the nail.
If this happens, simply use the blunt end of a nail clean up brush to push them gently flat to the nail, positioning them gently as they set.

Photo of Polka Dot Manicure without the top coat, to highlight rough edges, by Team Lots of Lacquer
Step 6
The topcoat smooths out some roughness and prevents the dots from flaking off as the manicure wears.
Allow time for it to set and behold your finished product:

Photo of Polka Dot Manicure finished over green background
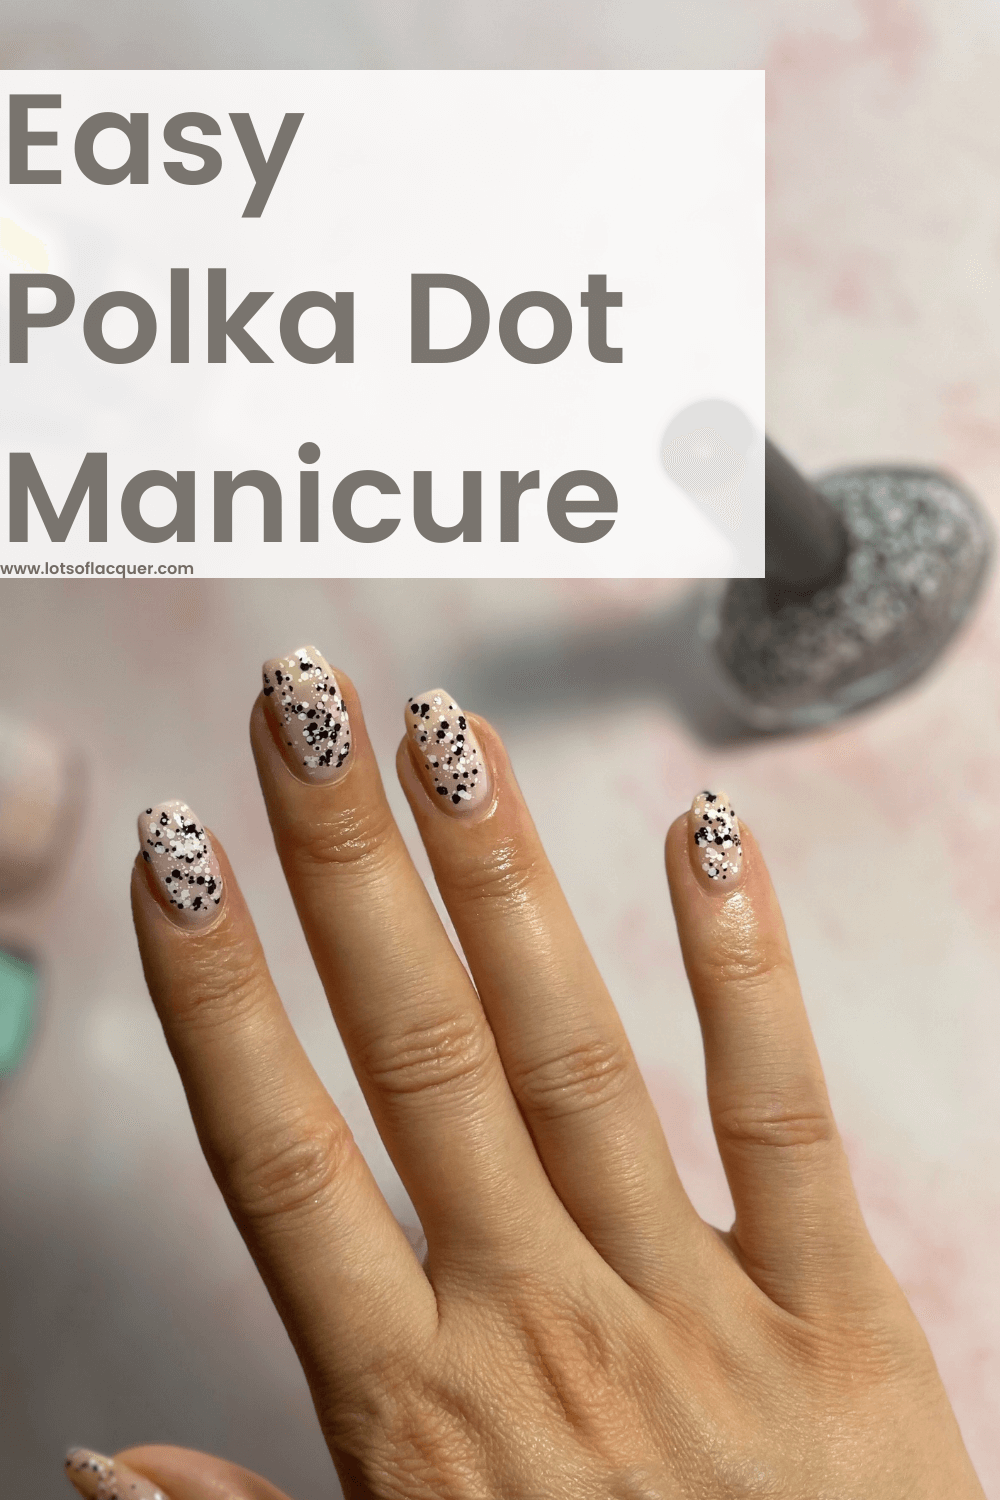
Photo of text overlay Easy Polka Dot Manicure over Polka Dot nail design with pink background
Get these products:
Now that this easy polka dot manicure is complete, it’s time to enjoy it!
For more content like this, follow and like us on Instagram!
Other Articles You May Enjoy:
This post contains affiliate links. As an Amazon Associate I earn from qualifying purchases.