
How To Apply OPI GelColor at Home: A Step-By-Step Guide
Last updated 2026-05-13. This post contains affiliate links, which means I may earn a commission if you make a purchase at no extra cost to you. OPI Big Apple Red GelColor was gifted by Beyond Polish as a PR sample, but all other products featured and opinions are my own. As an Amazon Associate I earn from qualifying purchases.
Want to skip the salon but still get that ultra-glossy, professional finish?
I’ve been really enjoying creating at-home gel manicures lately, and OPI GelColor has quickly become one of my favorites for its rich color payoff and durable shine.
Many nail techs believe that the tacky layer from a wipe top coat actually helps extend wear time by improving adhesion, so either option works depending on your manicure goals.
The main reason you would use a top coat without an adhesion layer based on what I have seen is to apply chrome powder. Using a No-Wipe Top Coat is usually recommended for encapsulation of chrome powder because it works better in that application.
Additionally, a No-Wipe Top Coat is easier to use, so it’s often the top coat you’ll see in beginner gel manicure kits. It does not require the added step of wiping your finished manicure with alcohol to remove it, so it simplifies your manicure routine.
Finally, a third reason to use a No-Wipe Top Coat over the standard OPI Super Gloss Top Coat that has the adhesion layer is if your regular top coat is contaminated or unavailable and that’s what you have on hand, you can just use that without buying the other top coat type.
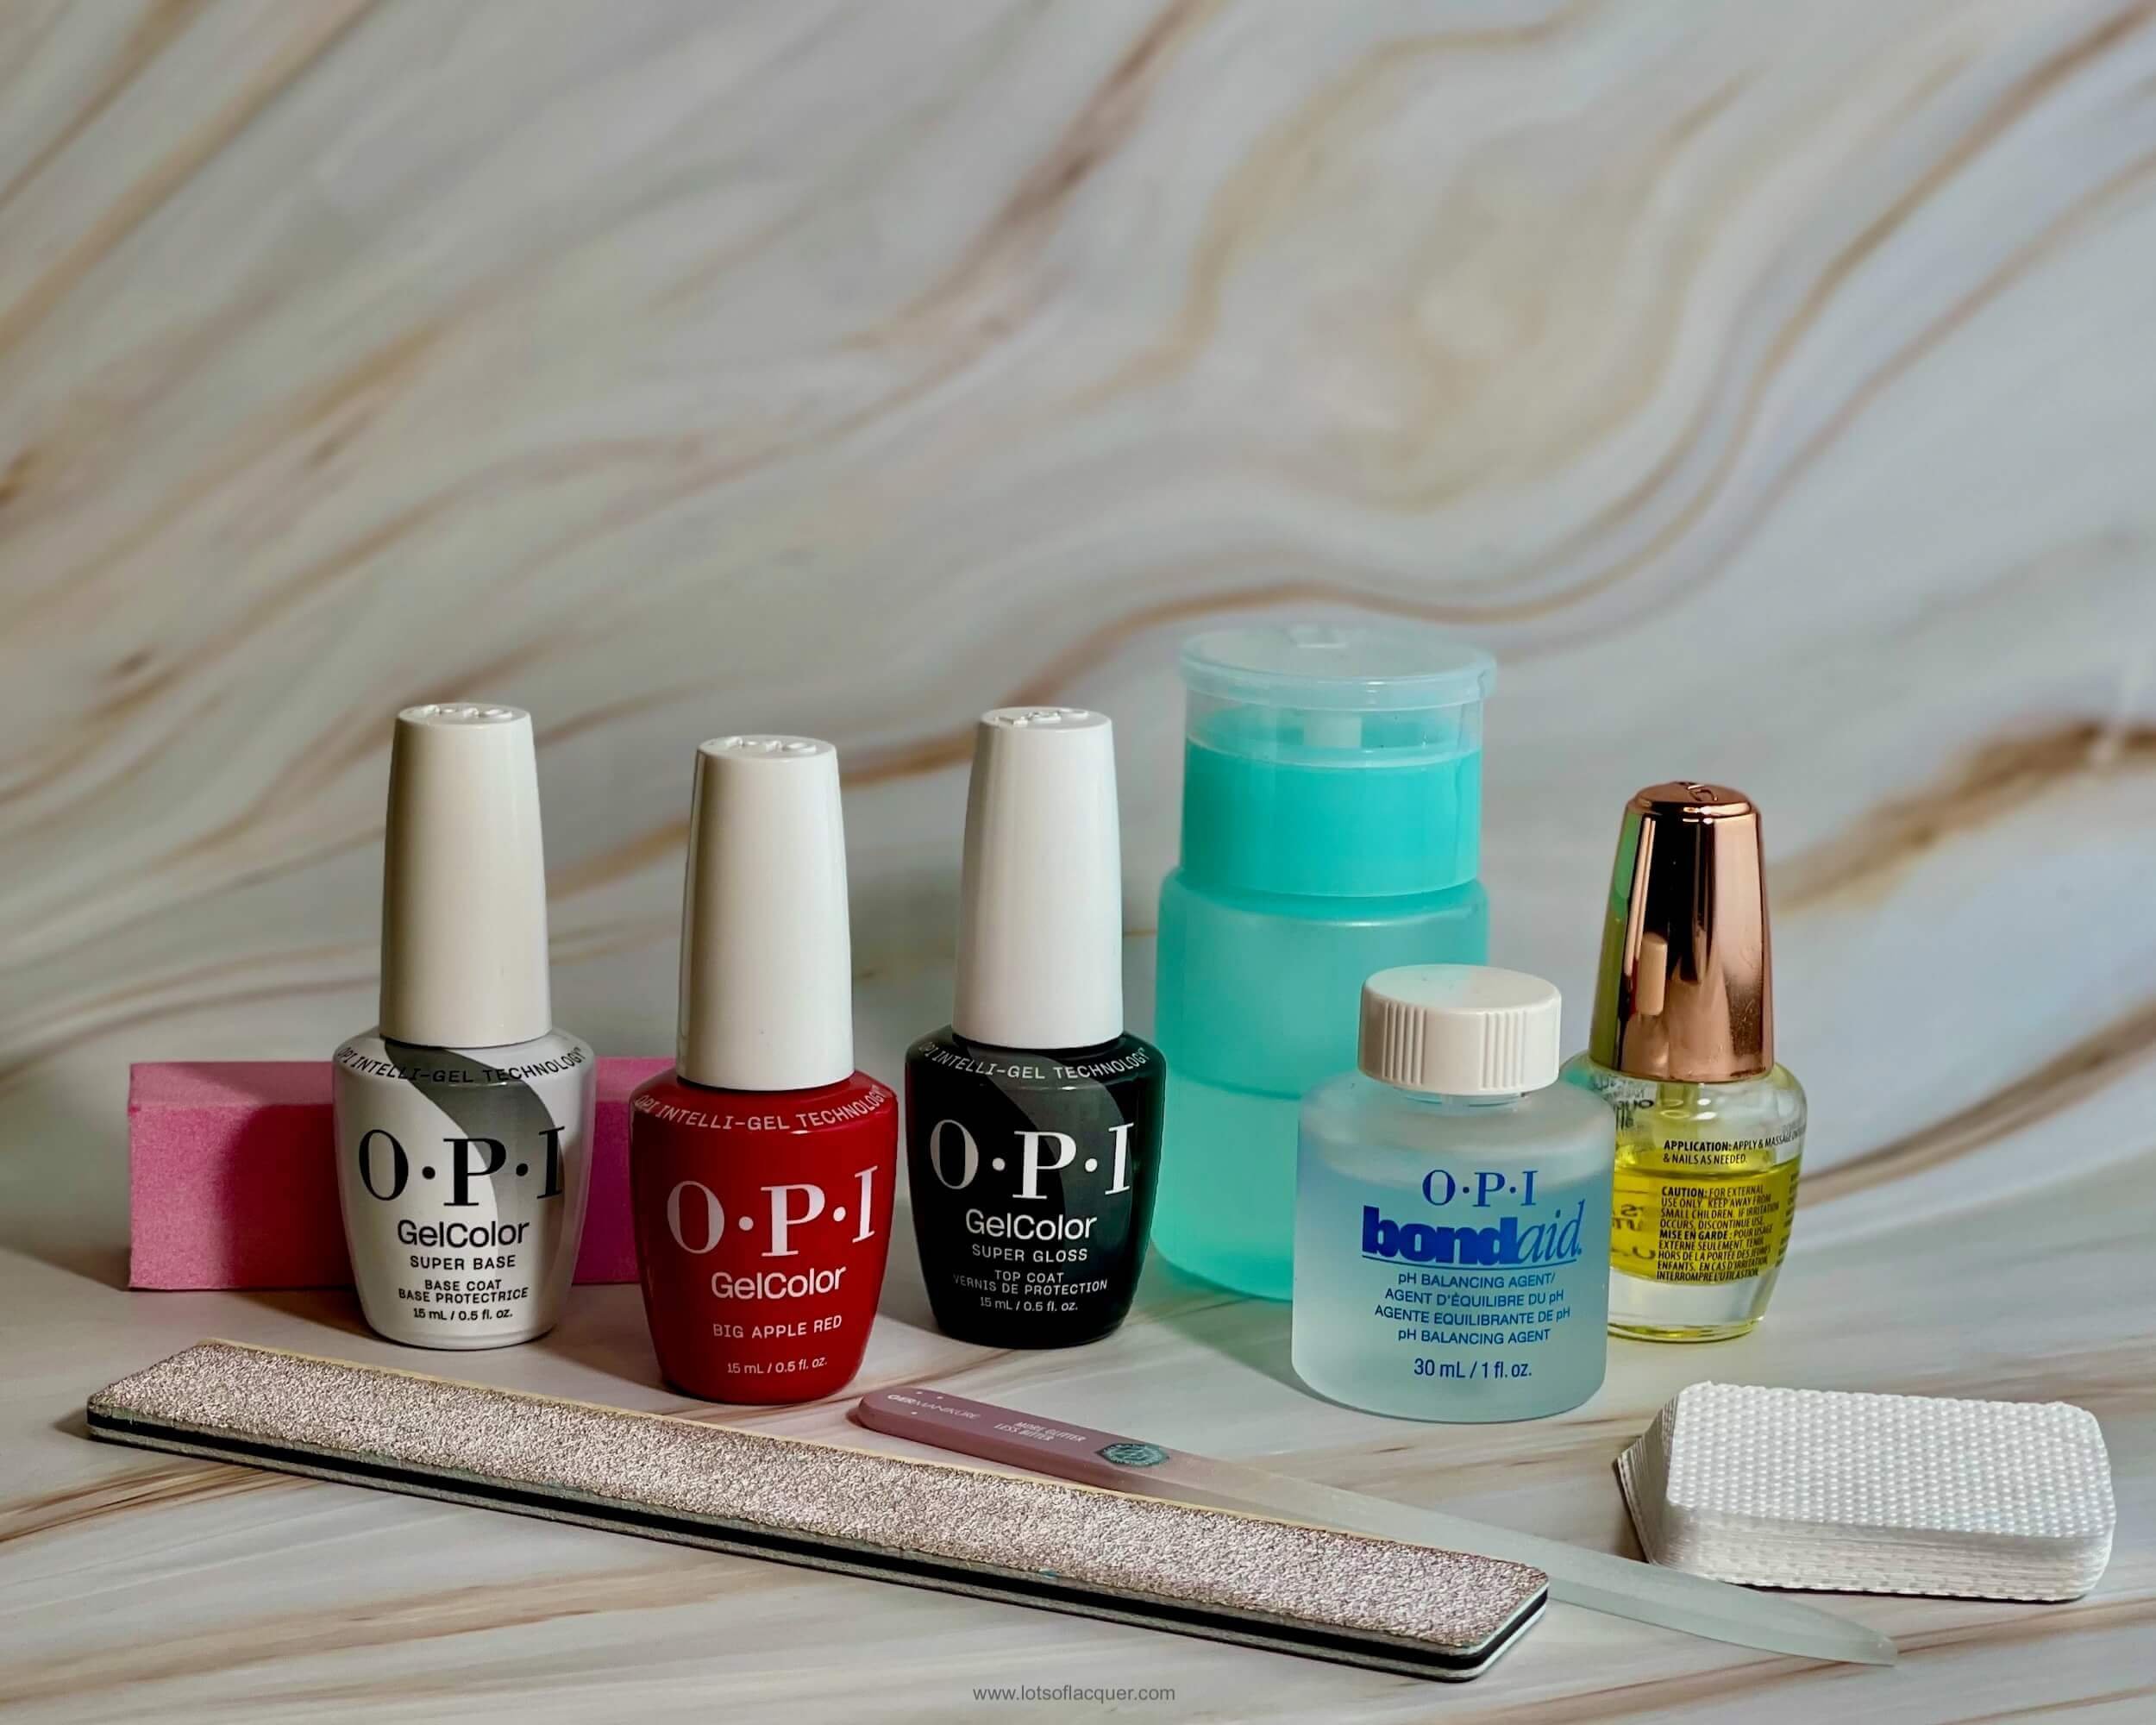
To start, you’ll need:

Essential tools:
- Cuticle pusher
- Nail files (100/180 grit and glass)
- Buffing block
- Latex gloves
- Primer (optional)
- Clean-up brush
- Lint-free wipes (OPI Expert Touch or any brand)
- Cuticle oil
OPI products used:
- OPI Big Apple Red GelColor
- OPI GelColor Super Base Coat
- OPI GelColor Super Gloss Top Coat or No-Wipe Top Coat
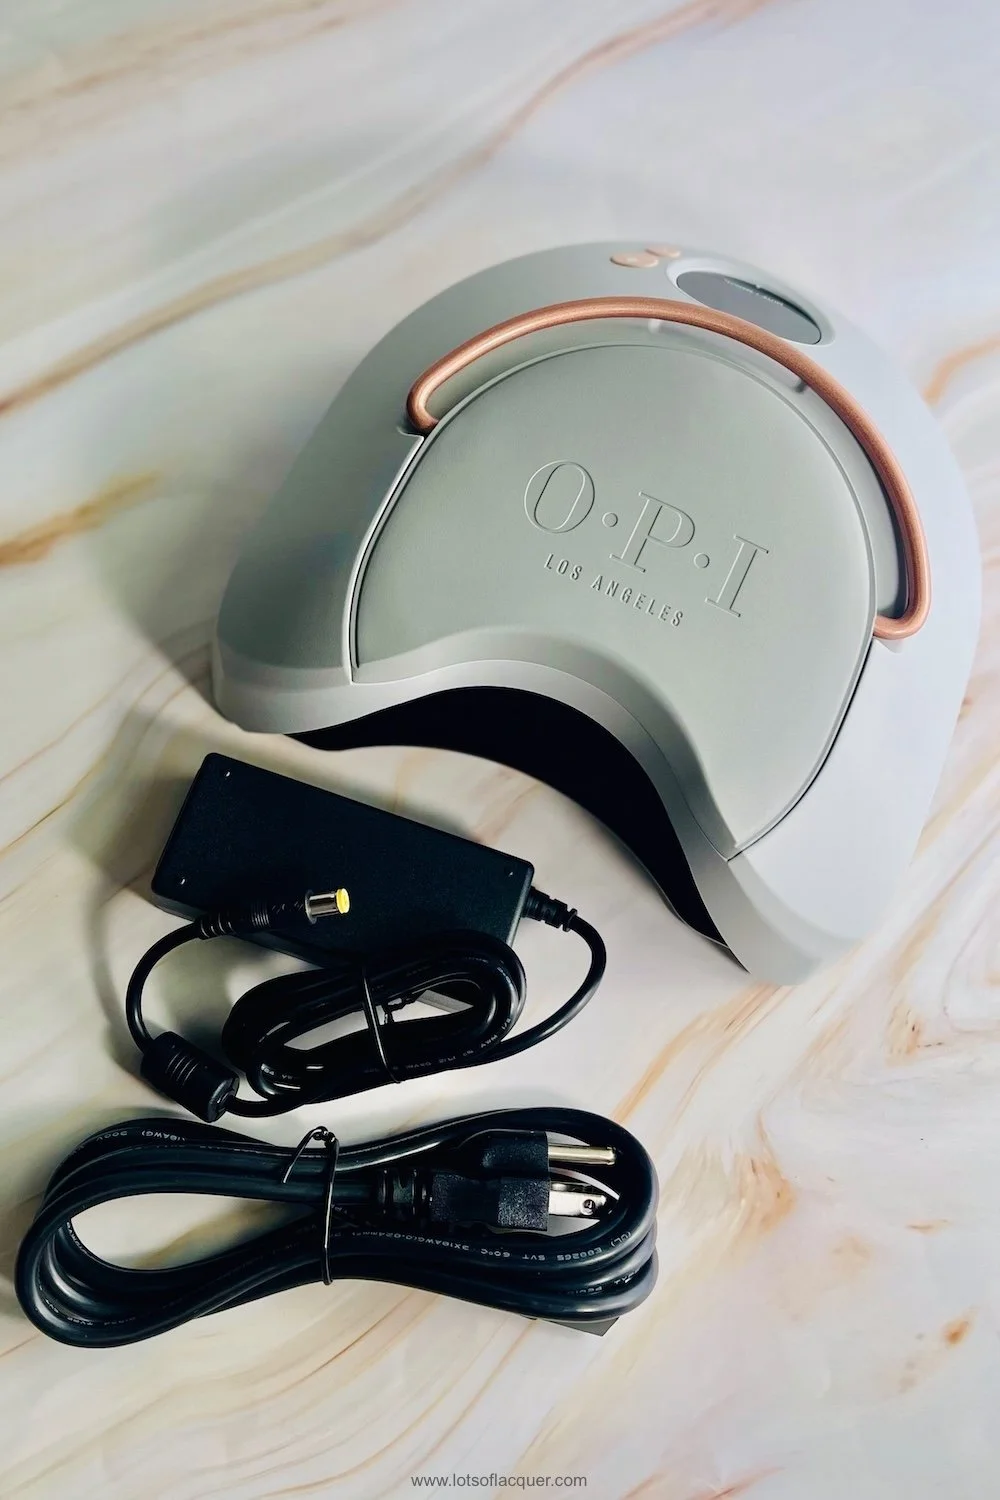
- OPI Star Lamp - yes, you will need a lamp to apply OPI GelColor!
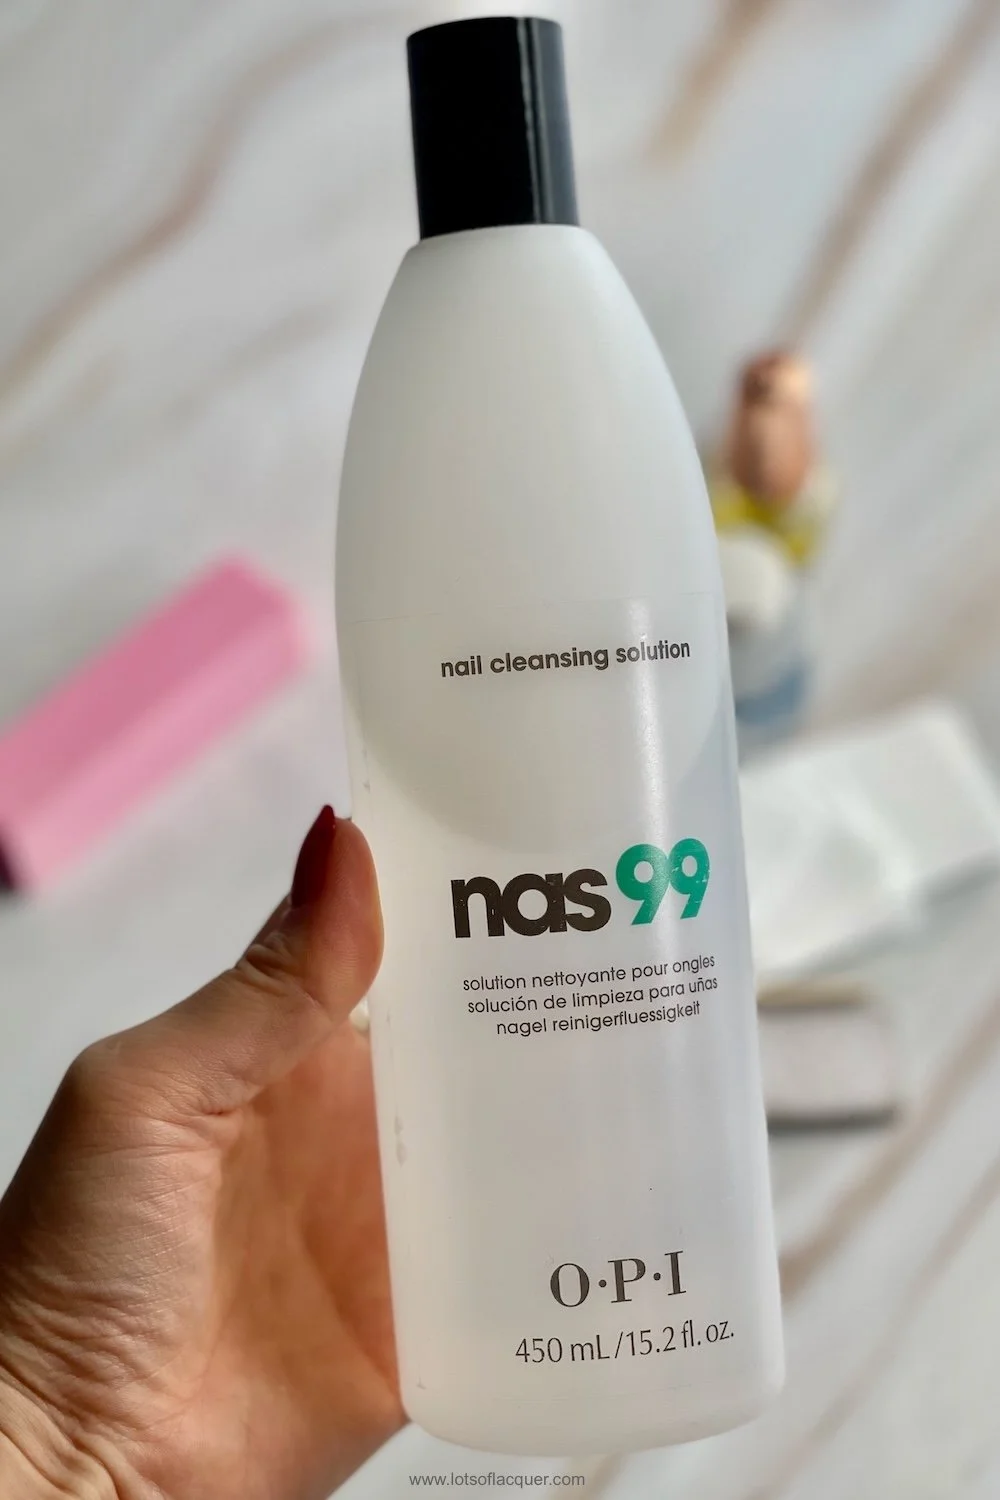
- OPI N.A.S. 99 Cleanser (or another 95–99% isopropyl alcohol)
For best results, use OPI’s matching base, color top coat and lamp.
Gather your supplies in one place and let’s begin.
How To Apply OPI GelColor

Step 1: Prep Your Nails
Work on one hand at a time.
Remove old polish and push back your cuticles.
Shape your nails using a 100/180 grit file, then smooth with a glass file. Popular shapes right now: short square or almond.
Buff off the natural shine with a buffing block.
Clean and dehydrate nails using OPI N.A.S. 99 or alcohol (do this twice if your nails are oily).
Apply primer if desired; OPI BondAid works well here.
Shake all GelColor bottles vigorously to ensure an even mixture - if you miss this step don’t worry, I forget sometimes and things still turn out OK.
Set up your lamp and pick your manicure entertainment (a podcast, playlist, or your favorite show). You’ll be busy for about an hour!

Step 2: Apply Base Coat
- Put on a latex glove on your non-painting hand to protect it from gel exposure.
- Apply a thin layer of OPI GelColor Super Base Coat, capping the free edge.
- Clean any polish on your skin with your clean up brush dipped in cleanser.
- Cure for 30 seconds under the OPI Star Lamp.
Step 3: Apply GelColor
- Brush on a thin layer of OPI Big Apple Red GelColor, capping the edge of your nail.
- Clean any color on the skin with your clean up brush and wipe on a lint-free pad.
- Check for gel pullback at the tips and if needed, lightly re-cap.
- Cure for 30 seconds, then apply a second coat and cure again.
The tacky layer left after curing is called the inhibition layer which helps with adhesion, don’t touch it.

Gifted by Beyond Polish
Step 4: Apply Top Coat
- Apply the OPI GelColor Super Gloss Top Coat or No-Wipe Top Coat.
- Float the brush lightly to avoid picking up red pigment. If you do, simply wipe the brush clean on a lint-free wipe before returning it to the bottle.
- Cap the free edge, inspect for stray polish on the skin around the nail, clean up any if necessary, and cure for 30 seconds.

Step 5: Cleanse & Finish
If you use the Super Gloss Top Coat, your nails will still feel tacky.
Dampen a lint-free wipe with OPI N.A.S. 99 Cleanser.
Wipe each nail to remove the remaining inhibition layer.
This step doesn’t affect wear time. Once the top coat is cured, the tacky layer on top doesn’t help the manicure stay on; it’s only functional between layers during the curing process.
Once the underlying layers are fully bonded, and any remaining tackiness is simply residue - safe to remove after curing unless you’re using a no-wipe formula.
The tackiness between the color coat and top coat is what ensures strong adhesion.
Think of the tackiness like this: the base coat is tacky so the color can bond to it. Each color coat cures tacky so the top coat can fuse with it, forming a strong chemical bond.
Step 6: Repeat on the Other Hand
Now that you’ve got the hang of it, your second hand will go more quickly.
Once finished, enjoy your smooth, high-shine, smudge-free manicure!

OPI Big Apple Red GelColor
It’s one of OPI’s most popular year-round reds and it’s been in production for the past 25 years as it is a fan favorite.
Okay, so now you have a gorgeous vibrant red manicure that is rock solid - no chances for smudges hours later!
How Long Will It Last?
Aftercare Tips
Hydrate daily
Apply cuticle oil (I love jojoba) to keep the gel flexible and prevent cracking.
Avoid soaking
Water, especially warm soapy water, weakens the gel. Wear gloves for chores and keep your hands out of the hot tub.
No picking!
Resist the urge to lift or peel the edges. This breaks the seal and will shorten your manicure’s lifespan.
Your final look is a timeless, vibrant gel manicure that’s glossy, chip-resistant, and salon-quality without the salon. You become the salon!
One of the things I love most about doing my own OPI GelColor manicures at home is that one bottle of GelColor lasts up to 80 applications so when you do the cost analysis of price per manicure, your long-range manicure cost is around $1.10.
It’s an incredible savings to just do it yourself!

Quick Recap
Prep nails: shape, buff, and dehydrate.
Apply base coat → cure.
Apply two thin color coats → cure each.
Apply top coat → cure.
Cleanse (if using a wipe top coat).
Repeat on the other hand & finish with cuticle oil.
Whether you love the timeless red of Big Apple Red or want to experiment with other beloved shades like Bubble Bath, Lincoln Park After Dark or Funny Bunny, this method delivers a salon-quality finish that lasts for weeks.
Use the links above to add all these supplies to your line-up!
Wondering how to remove your gel manicure when it’s time? See the posts below for how to remove OPI GelColor plus other gel color tips ~
Other Articles You May Enjoy:
Amazon and the Amazon logo are trademarks of Amazon.com, Inc. or its affiliates. Use coupon code LOTSOFLACQUER for 10% OFF at Beyond Polish - affiliate code, I earn a commission if you use it 💕