
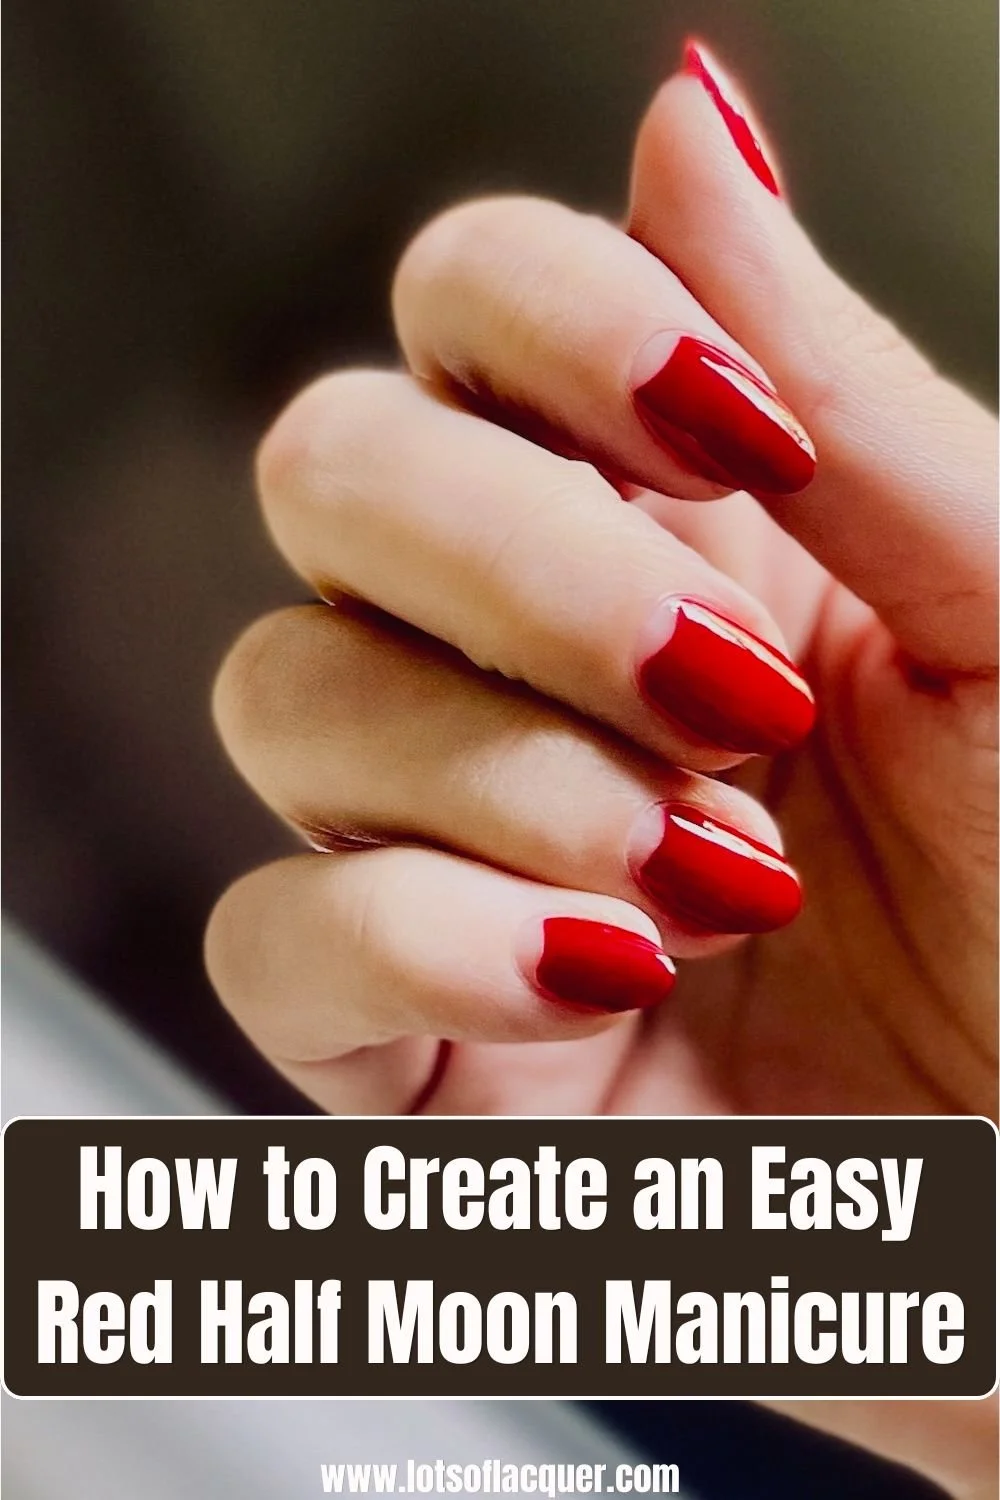
How to Create an Easy Red Half Moon Manicure
Published 2026-06-18. This post contains affiliate links, which means I may earn a commission if you make a purchase. As an Amazon Associate I earn from qualifying purchases. Use my link to shop online at CVS.com for all your beauty, health and wellness needs and pickup in store for free! #CVSPartner #ad
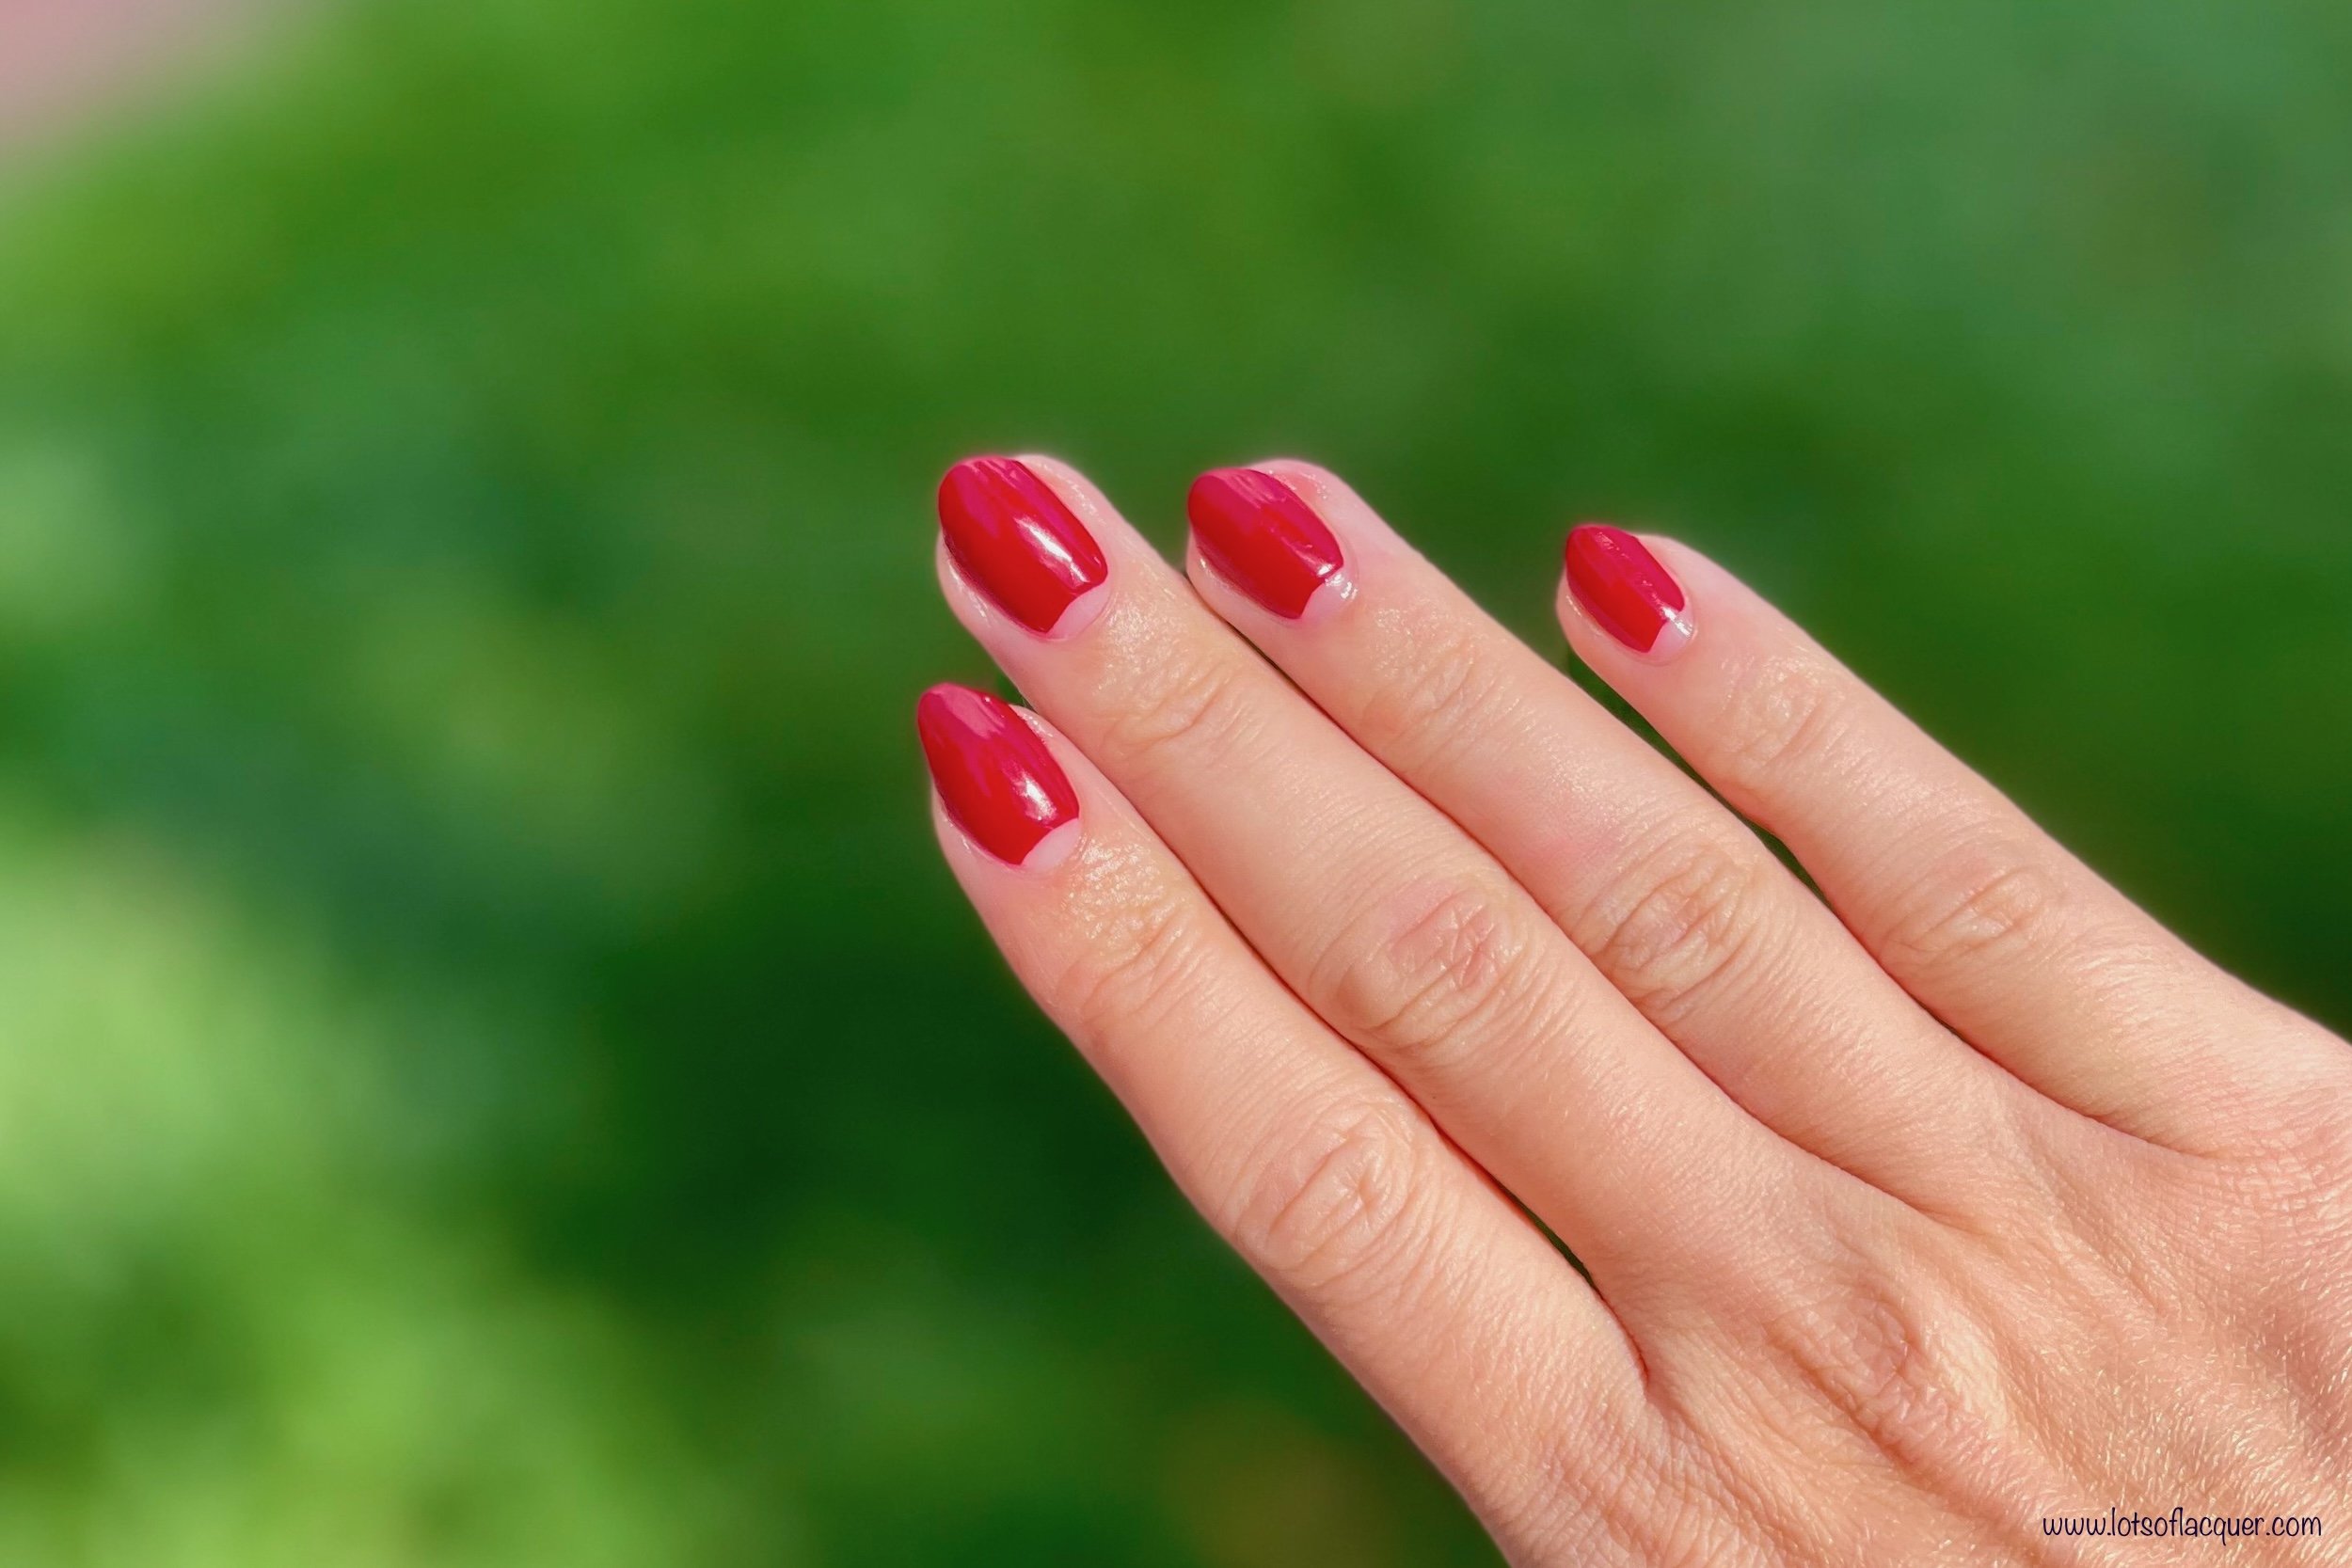
Some nail trends come and go, but the half moon manicure has stood the test of time.
In fact, it's one of the earliest manicure styles to appear after nail polish was invented. Often considered a predecessor to the French manicure, the look features a bare crescent at the base of the nail with color painted above it.
The history behind the half moon manicure (also called the 1930s Moon Manicure) is still up for debate, but it is thought to have originated in the late 1920s.
Some historians believe it was designed to preserve polish and extend wear time by making nail growth less noticeable. Others think it was a way to showcase the clean, well-maintained nails that were fashionable among women who didn't perform manual labor.
Whatever the original reason, one thing is certain: it's still a chic and elegant nail look today.
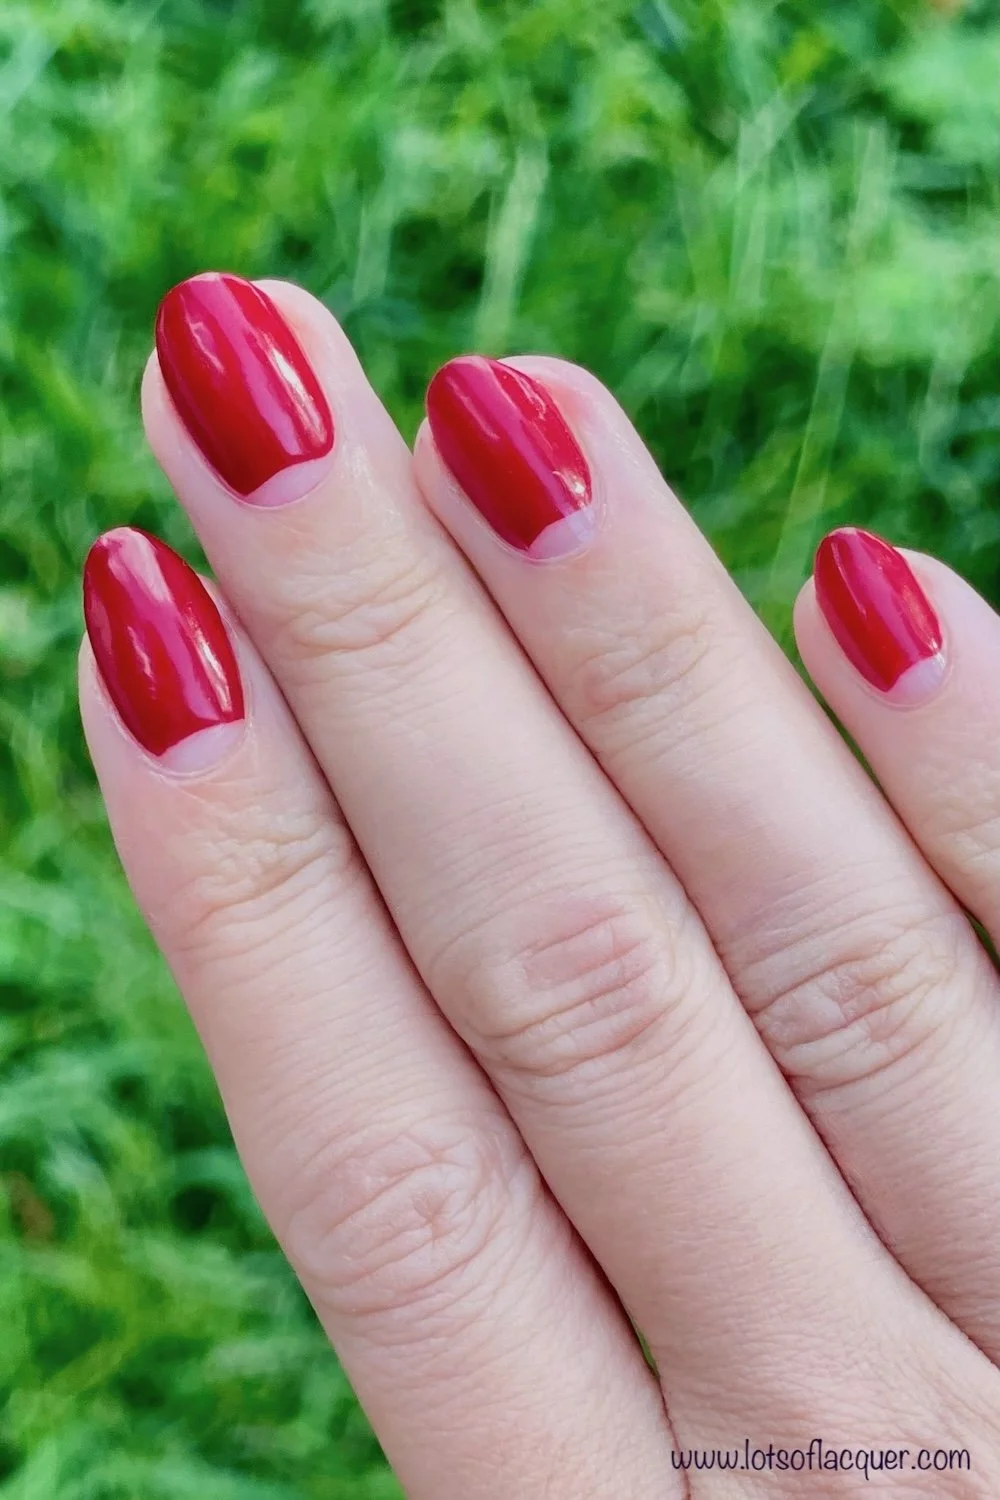
The most popular color for the half moon manicure is red, but it’s also gorgeous in pink and white, though any color I’ve seen looks amazing.
This look was surprisingly easy to create—even as a first attempt.
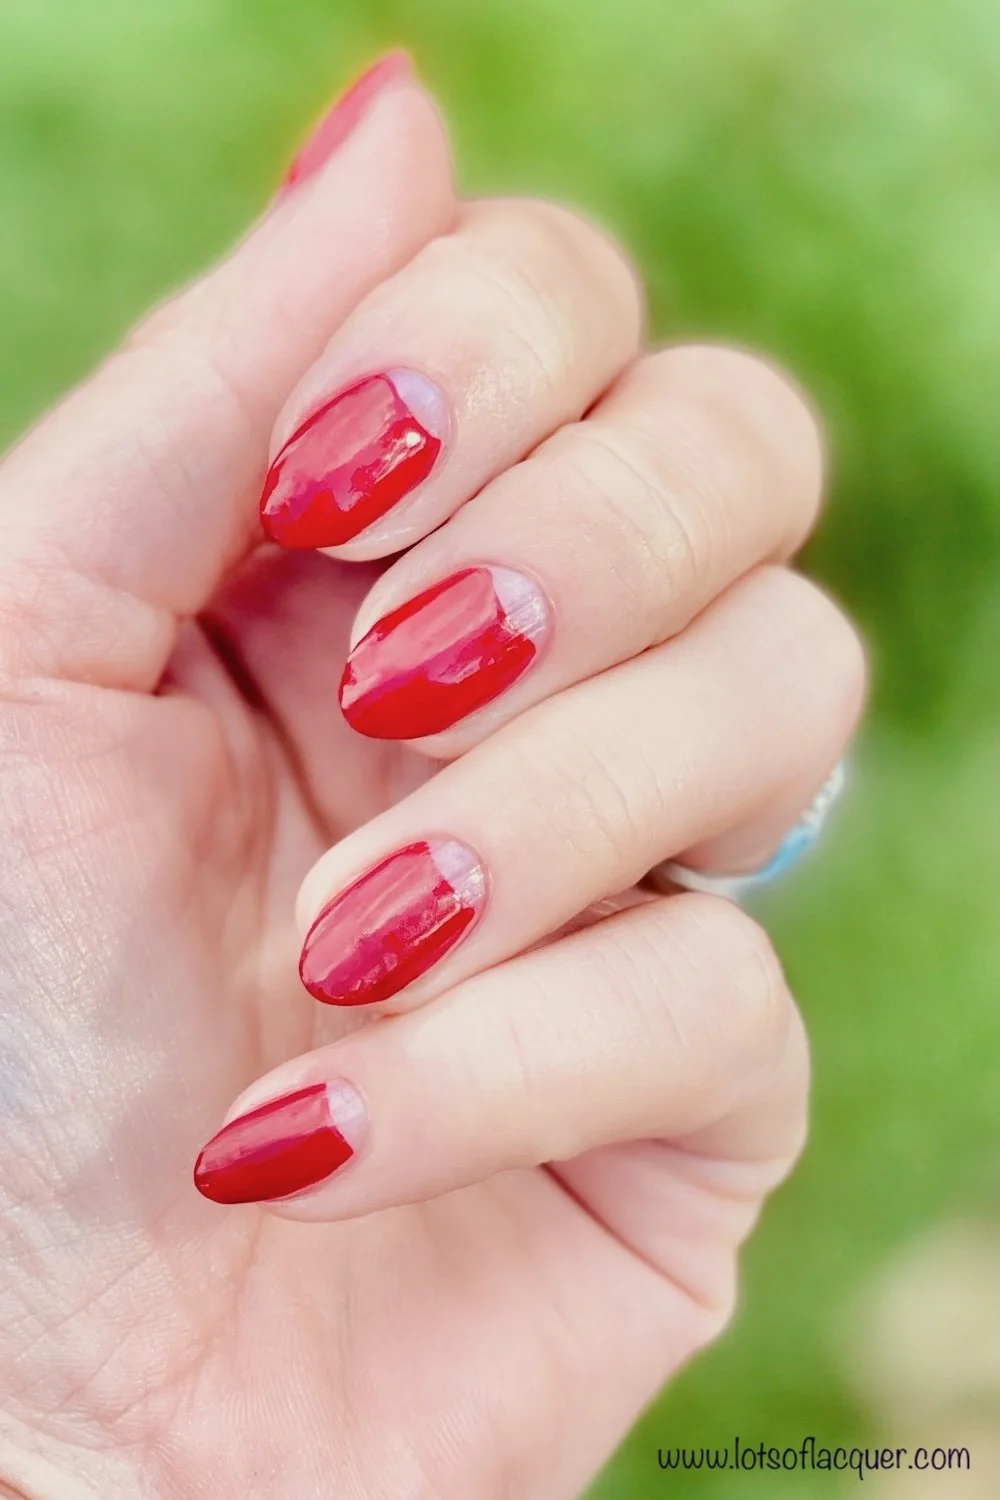
To achieve the red half moon manicure look with nail polish:
Start with clean, dry bare nails - no base coat needed.
Turn the polish brush on its side.
Hold the flat paddle horizontally across the nail and paint a soft, curved swoosh across the top of each nail, leaving the half moon area of the nail bare.
Then fill the whole nail in with color from your top curved line down.
Once your first coat of color is dry, repeat the process for the second coat - turn the brush sideways, follow the original swoosh outlining the half moon top of the nail, then bring the color down the rest of your nail.
That’s it!
If you're interested in trying a half moon manicure yourself, I recommend you start with a classic red or pink polish and in regular, air dry polish formulas first.
Red and pink polishes are the two most popular colors for the style and help highlight its vintage-inspired charm.
Start practicing with polish you can easily paint on and remove before moving onto gel polish half moon styles just to make sure you master the technique before trying it with harder to remove formulas.
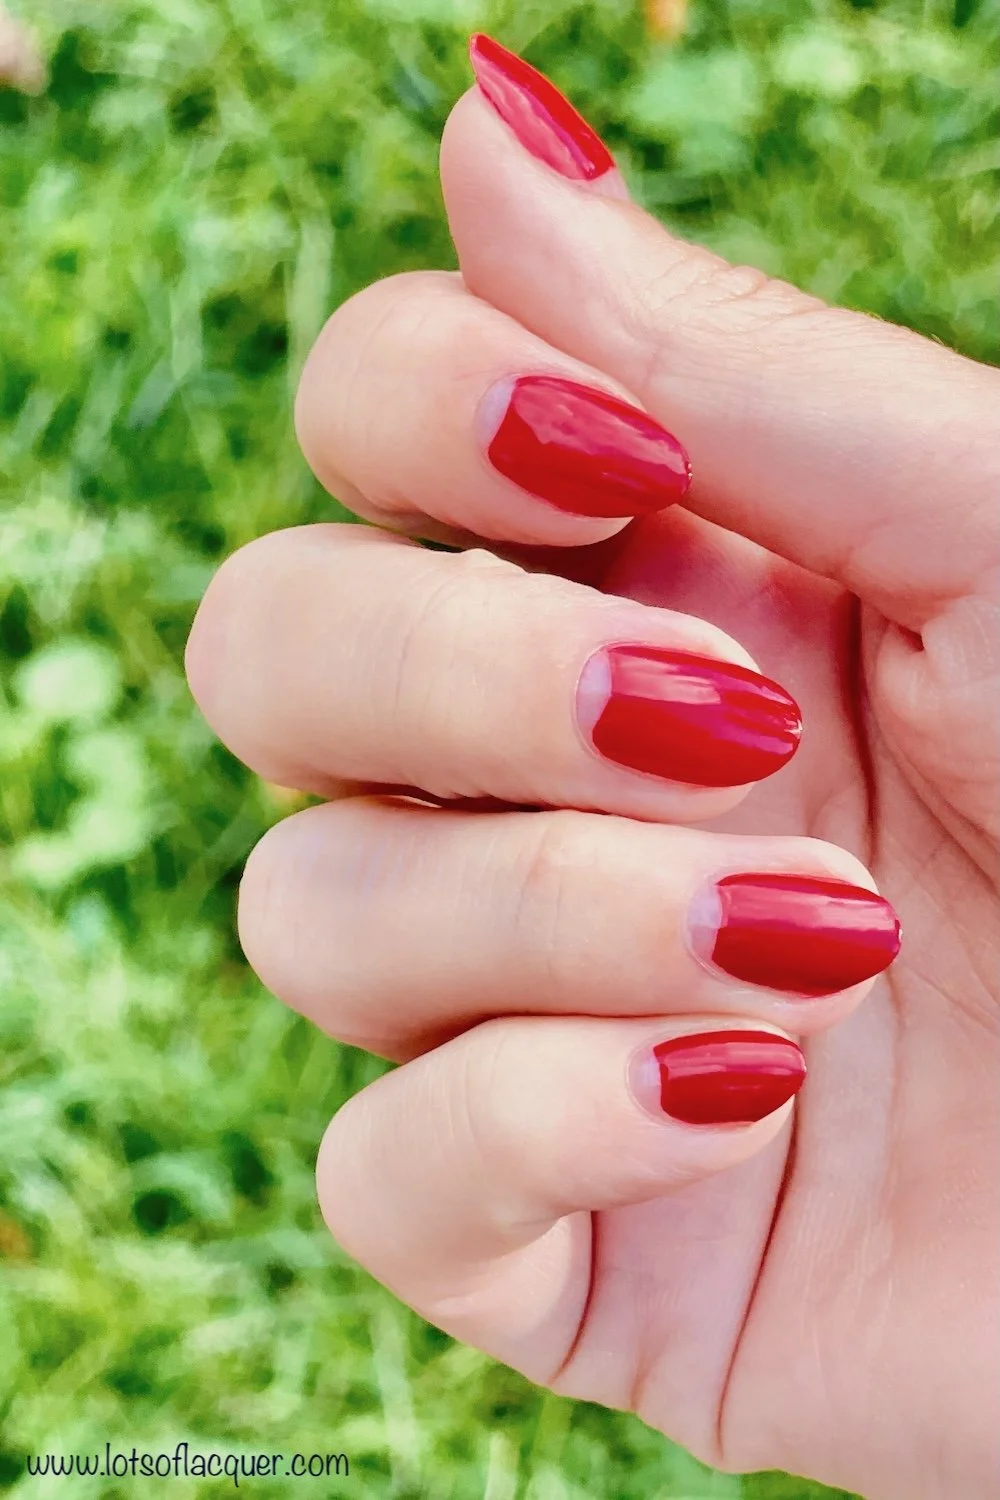
Don't worry about perfection — no one will notice if the moons aren’t all equal or the lines aren’t the same on every nail.
The beauty of this manicure is that it's simple, elegant, and easy to customize.
Sometimes the oldest nail looks are still the prettiest.
Other Articles You May Enjoy:
Amazon and the Amazon logo are trademarks of Amazon.com, Inc. or its affiliates.