
How To Prep Your Nails For A Manicure
Last updated 2025-11-04. This post contains affiliate links, which means I may earn a commission if you make a purchase — at no extra cost to you. As an Amazon Associate I earn from qualifying purchases.
Preparing your nail bed for a long-lasting DIY manicure?
When doing your own nails at home, the tips below can help you prep your nail bed for an at-home manicure that lasts.
While many factors go into how long a manicure lasts once the paint has dried: the paint quality, the base and top coat used, and daily wear and tear all play a role, prepping the nail bed before you begin your manicure is one thing you can do to ensure a longer lasting manicure given all other variables.
When the nail bed is properly cleaned, shaped, filed, and prepared, you really do give any paint that goes on them after that the best chances of success.
To get the best at-home manicure results, below are the 7 steps to prepping your nail bed for a manicure:

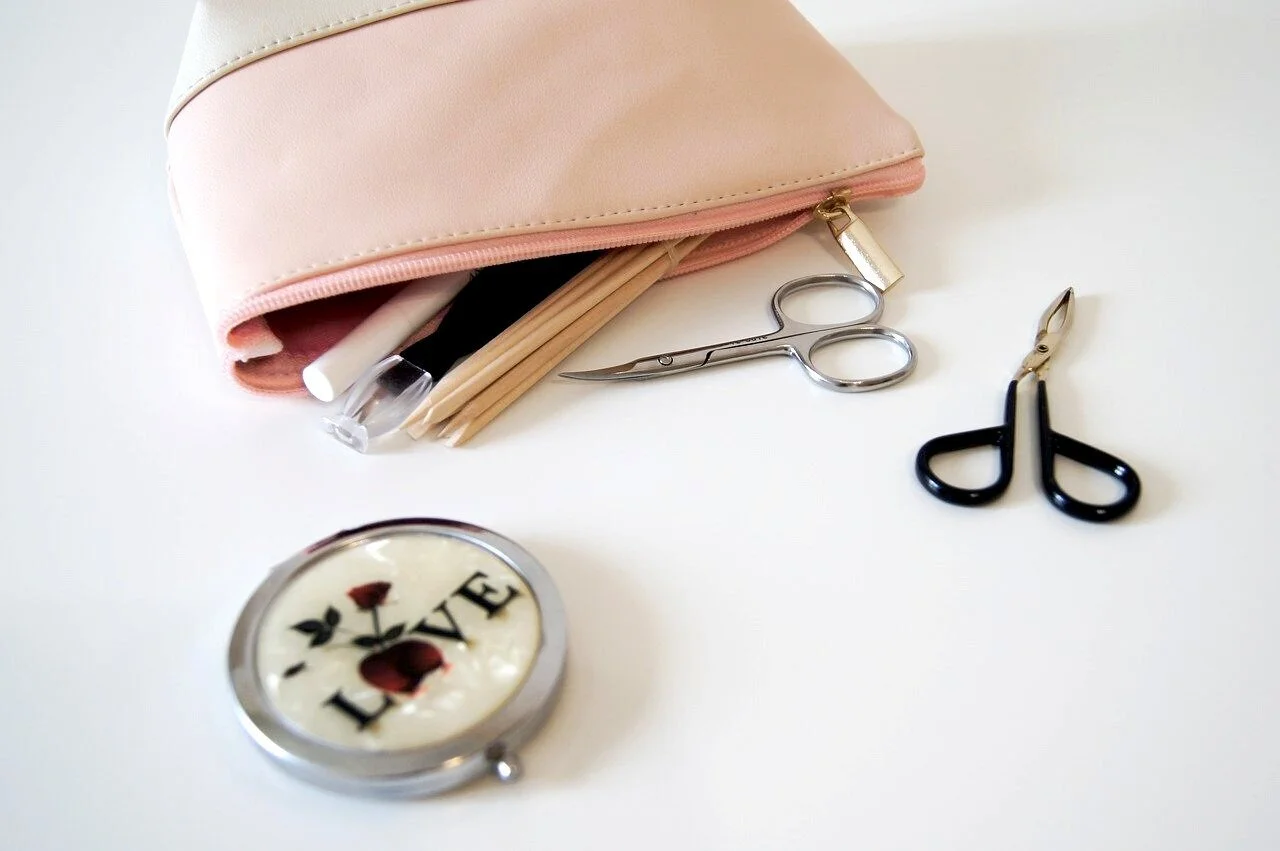
Step 1. Prepare your work area and gather your tools
Wash your hands and then begin to gather your supplies. For this blog you will need:
- 1 Paper or cloth towel you don’t mind getting dirty
- 1 Bottle of nail polish remover or pure acetone
- 4-5 Lint-free cotton pads
- 1 Cuticle oil or butter
- 1 Wooden nail stick
- 1 Cuticle nipper
- 1-2 Nail files (180 for tips / 240 grit is optional if buffing the top of nail bed)
- 1 Hand soap
- 1 nail cleanser, acetone, nail dehydrator or isopropyl alcohol
Lay down a protective towel, paper or cloth over your workspace to protect any surfaces and for easy manicure debris clean up.
Step 2. Remove any existing nail polish
Using your favorite acetone or acetone-free nail polish remover if you are wearing a sheer, creme or pearl polish, starting with saturating one lint-free cotton pad with remover and begin wiping off the polish from each nail.
When one cotton pad feels saturated with remover and polish, switch to using a new cotton pad.
Most nail polishes will be removed through the use of 3-5 cotton pads. The more nail polish applied the more cotton pads you will use in this process.
If you’re wearing glitter nail polish, and wiping isn’t working - try soaking your nails in an acetone nail polish remover for 5-minutes. This tends to do the best job at removing glitter polish.
After 5-minutes has elapsed for each hand, wipe off the nail polish with 2-4 cotton pads. As each pad becomes full with polish, switch to using a new cotton pad.
Step 3. Oil your cuticle bed
After you’ve removed your nail polish to reveal bare nails, moisturize the skin around the nail with a cuticle oil or butter.
Let it soak in for at least 1-minute.
Step 4. Push back the cuticles and snip any hangnails
If you have any loose skin that appears where the cuticle was attached, simply use the side of the paddle to gently scrap this off the nail, collecting any debris on your protective towel surface.
Next, inspect the cuticle bed to see if you have any loose edges, known as hangnails.
When left unattended, these can further rip, creating both bleeding and a gateway to infection.
Again, collecting any debris on the protective cloth beneath where you are working.
Step 5. File your nails to your desired length and shape
Using a 180 grit nail file for natural nails edges, file in one direction only until the tips of your nails match in length. As you file, keep in mind the shape you want to use.
The nail shape is a somewhat creative choice, it all depends on what you find most beautiful.
For a list of nail shape choices and how to make them, check out: Nail shapes 101. How to shape your own natural nails at home by Sienna.
When you have filed all nails to match -
Step 6. Wash your hands
After you are done filing your nails to their desired shape, head to the sink or any other nearest hand washing station and wash off any dust from the filing process and any cuticle oil that has not yet soaked in with soap and water.
Wait for the nail to dry before the next step.
Step 7. Swipe the nail one last time with pure acetone or alcohol solution
Once your hands have dried, take a lint-free cotton pad, soak it in either pure acetone or spray it with a 60-90% alcohol solution (if you have it), and wipe down each nail with the wet cotton pad.
This step dries out the nail bed so the polish adheres well.
Overall this is the basic process for preparing the hand and nail bed for a long-lasting manicure:

Step 1. Prepare your work area and gather your tools
Step 2. Remove any existing nail polish
Step 3. Oil your cuticle bed
Step 4. Push back the cuticles and snip any hangnails
Step 5. File your nails to their desired length and shape
Step 6. Wash your hands
Step 7. Swipe the nail one last time with pure acetone or alcohol spray on cotton pad
Once you are done with this process, now is the time to apply your manicure.

So select your base coat, because you are now ready to begin!
Now choose your base coat, color and top coat (here are my favorites), and accents you want to add, such as water decals, gems, or stickers, if any. Apply the paint as directed by the manufacturer of each.
After you have applied your polish and it has fully dried, moisturize your hands using your favorite cream or oil (optional).
Your manicure is done.
Admire your work and clean up your workstation
Collect all used cotton pads and dust in your towel, and then shake it out, if using a cloth towel, or dispose of it, if using a paper towel, over the trash can.
To keep your manicure fresh, consider re-applying your top coat around 3 days into your polish application. This will extend the wear and protect any minor chips from further development.
For more content like this, consider supporting the blog with a financial contribution.
Other Articles You May Enjoy:
As an Ulta Affiliate, this site earn from qualifying purchases. As a Beyond Polish Brand Ambassador, this site earns from qualifying purchases. Use coupon code LOTSOFLACQUER for 10% OFF at Beyond Polish! Amazon and the Amazon logo are trademarks of Amazon.com, Inc. or its affiliates.