
Pink And Grey French Tips
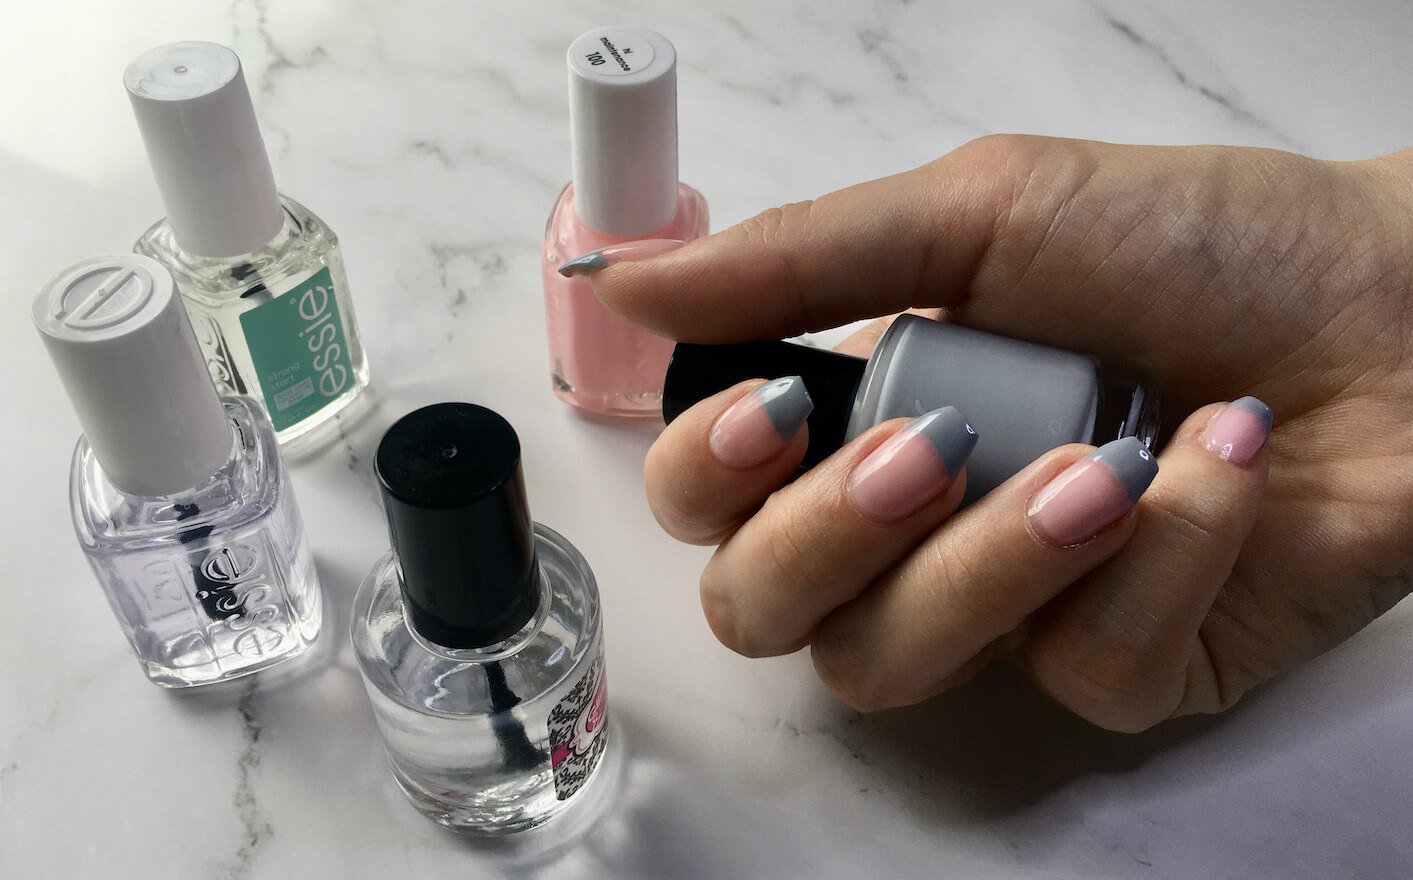
Photo of Pink And Grey French Manicure, hand holding grey nail polish, with Glisten & Glow Dry + Prep, essie top coat good to go, base coat starting strong, and color hi maintenance near by on white marble background
Updated 2022.03.15. This page contains affiliate links and this site earns from qualifying purchases made through these sponsored links.
Pink And Grey French Tips offer a pastel colored twist to the spring French Manicure.
A French Manicure typically defines a nail that is painted a sheer-to-natural nude or pink, and white is painted only on the tips of the nails, with the intention to highlight nail length.
A topcoat is applied over all, and the manicure is complete.
Today, the French Manicure remains one of the most iconic manicure styles of the past century.
These Pink and Grey Tips, which could also be called a Grey French Manicure or a Pink And Grey French Manicure, take a tiny spin on that original nail design, swapping out the white tips for grey French tip nails.
Grey is a neutral, calming color, it’s also the color of a rainstorm. It’s in the pastel family of shades, too, so it makes for the perfect color for your next spring nail design.
A Pink And Grey French Manicure looks great, and wears well on cool, rainy days, or on one of those cloudy, overcast afternoons that seem to span a week any time the season changes.
Pink And Grey French Tips provide a cool-tone pastel French Manicure, and plenty of contrast, making the design easy to see and admire from across a room.
This nail design is also in the neutral shade range, so you can wear it to even the most conservative of affairs.
So if you are looking to create a Grey French Tip Manicure, using pink as the base nail polish, you’ve come to the right place.
To begin, here are a few images of the finished manicure -
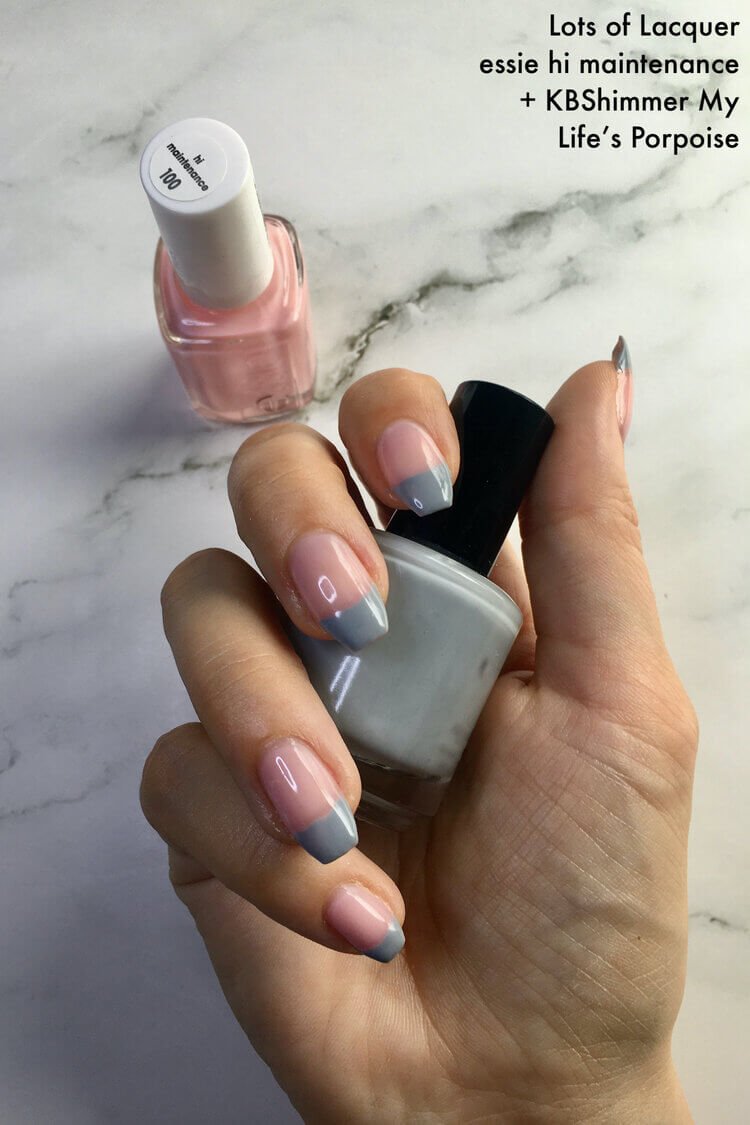
Vertical photo of Grey Tips French Manicure, using essie hi maintenance pink as the base color, holding bottle of grey nail polish, My Life’s Porpoise by KBShimmer on white marble background

Horizontal photo of finished Pink And Grey Manicure, hand holding essie hi maintenance pink nail polish bottle, and KBShimmer My Life’s Porpoise on left on white marble background
All you need to create this above look on your nails is a few bottles of polish, prepped nails, and a steady hand to create the tip lines.
For best results, you want your nails to have at least 1/8 of an inch of length from where the nail parts from the nail bed, for the tips part of the manicured nails.
Here are the supplies that were used to create the pink and grey French Manicure in this post:
To begin creating this design, gather the supplies above, or what you already have in your collection that’s similar - if doing the latter, you’ll need:
Have all your supplies? Let’s get started -

Vertical photo of Pink And Grey Pastel French Manicure idea on white marble background with grey and pink nail polish bottles at top
Pink And Grey French Manicure How-To
1 - Dry The Nail (optional)
After you’ve fully prepped your nails for a manicure, apply an alcohol or drying solution to the nail bed to remove any excess oils from the nail bed.
2 - Apply Base Coat
To know if a coat of paint has dried to the touch, lightly touch your ring finger to the nail, if ridges appear, it’s still wet. If no ridges are present, it’s dry.
If you’ve made ridges from checking, your color coat or top coat will usually cover them. To smooth the ridges, while the polish is still malleable, simply pat those ridges down, lightly, using the barely there gentle touch of your ring finger.
If you’d rather not touch, then simply wait around 1-2 minutes for the base coat to dry.
A touch-free way to tell if polish is dry: Some people will sense their nails as cool or cold when applying wet polish, and then this feeling goes away when the polish is dry, meaning when your polish coat is dry, your nails will feel like "room temperature" again. This is just one other way to sense dryness, keep in mind that not every nail is sensitive to wet/cool temperature changes.
How long does each coat of nail polish take to dry?
It can vary but in general, nail polish coats are usually dry in about 1-2 minutes if it’s a thin coat or fast-dry polish, or up to 5 minutes for thicker coats and standard polishes.
3 - Apply Sheer Pink
Once your base coat is dry, paint up to three coats of sheer pink on each nail, letting each coat fully dry to the touch in between coats.
4 - Apply Grey Tips
After the sheer pink has dried, with a steady hand, apply 1 - 2 coats of grey nail polish to just the tip of the nails, where the white part of the nail begins.
Let the first coat on each nail dry to the touch before applying the second coat.
If your grey nail polish is opaque at 1 coat, stop at 1 coat. If you need to use 2 coats to reach a fully opaque grey use two.
5 - Touch Up Grey Tips (if needed)
Or use your thin-wanded tool to wipe away any excess grey nail polish, while the polish is still wet, to get the straightest lines possible. Clean off your tool after your nails are dry.
6 - Apply Top Coat
Once you are satisfied with the straight lines at the top of your Grey French Tips where the grey meets the pink, give the nails another 1 - 5 minutes to dry.
Now, take some time to admire your work while your Pink And Grey French Manicure fully dries before moving on to your next task.
Your manicured nails should be dry to the touch in under 5 minutes.
If the polish takes longer to dry, try putting your nails in the sun, or turning a fan on the nails.
For more tips on getting a faster drying time, check out this post: How To Make Nail Polish Dry Faster
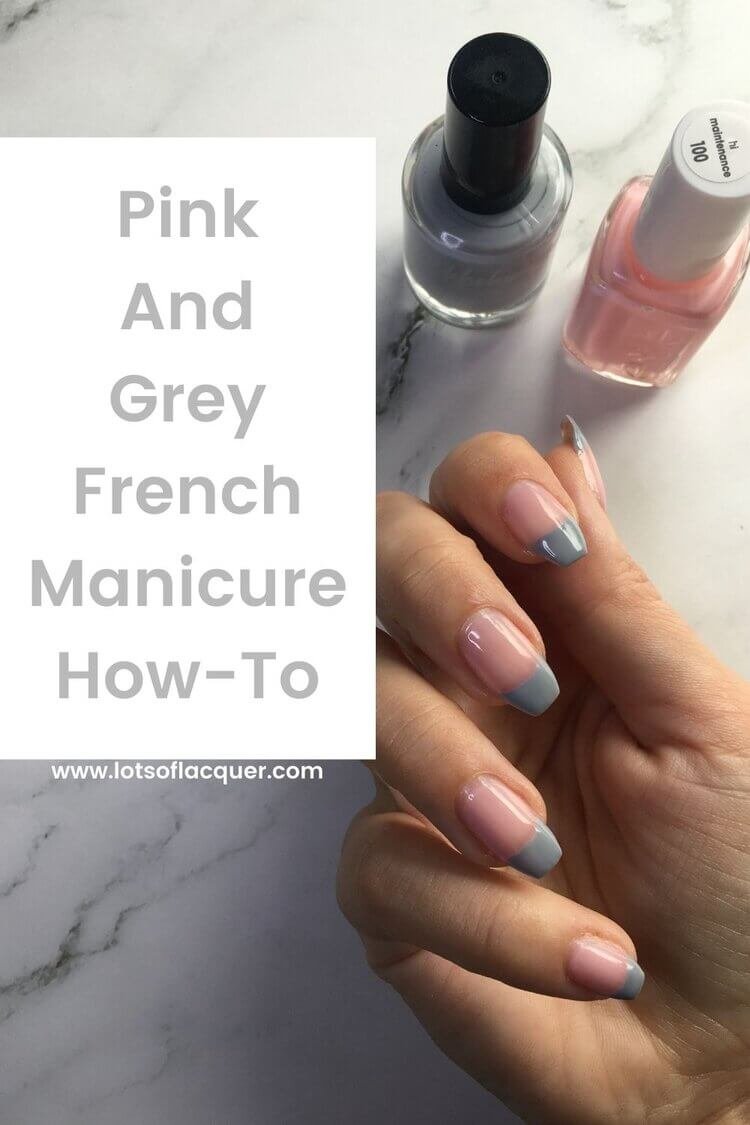
Vertical photo of Pink And Grey Pastel French Manicure idea on white marble background with grey and pink nail polish bottles at top with text overlay Pink And Grey French Manicure How-To
Like this design?
Give it a try the next time you want a classy manicured look, but are feeling a pastel, springtime nail look. It’ll fit right into those cloudy days, and match all the new spring flowers as they come up.
For more content like this, follow and like us on Instagram!
Other Articles You May Enjoy:
As an Amazon Associate I earn from qualifying purchases. As an Etsy, Ulta Beauty and Orly Affiliate, this site earns from qualifying purchases made through affiliate links.