Published 2026-11-06. This post contains affiliate links, which means I may earn a commission if you make a purchase. Some products were gifted as PR samples, but all opinions are my own.
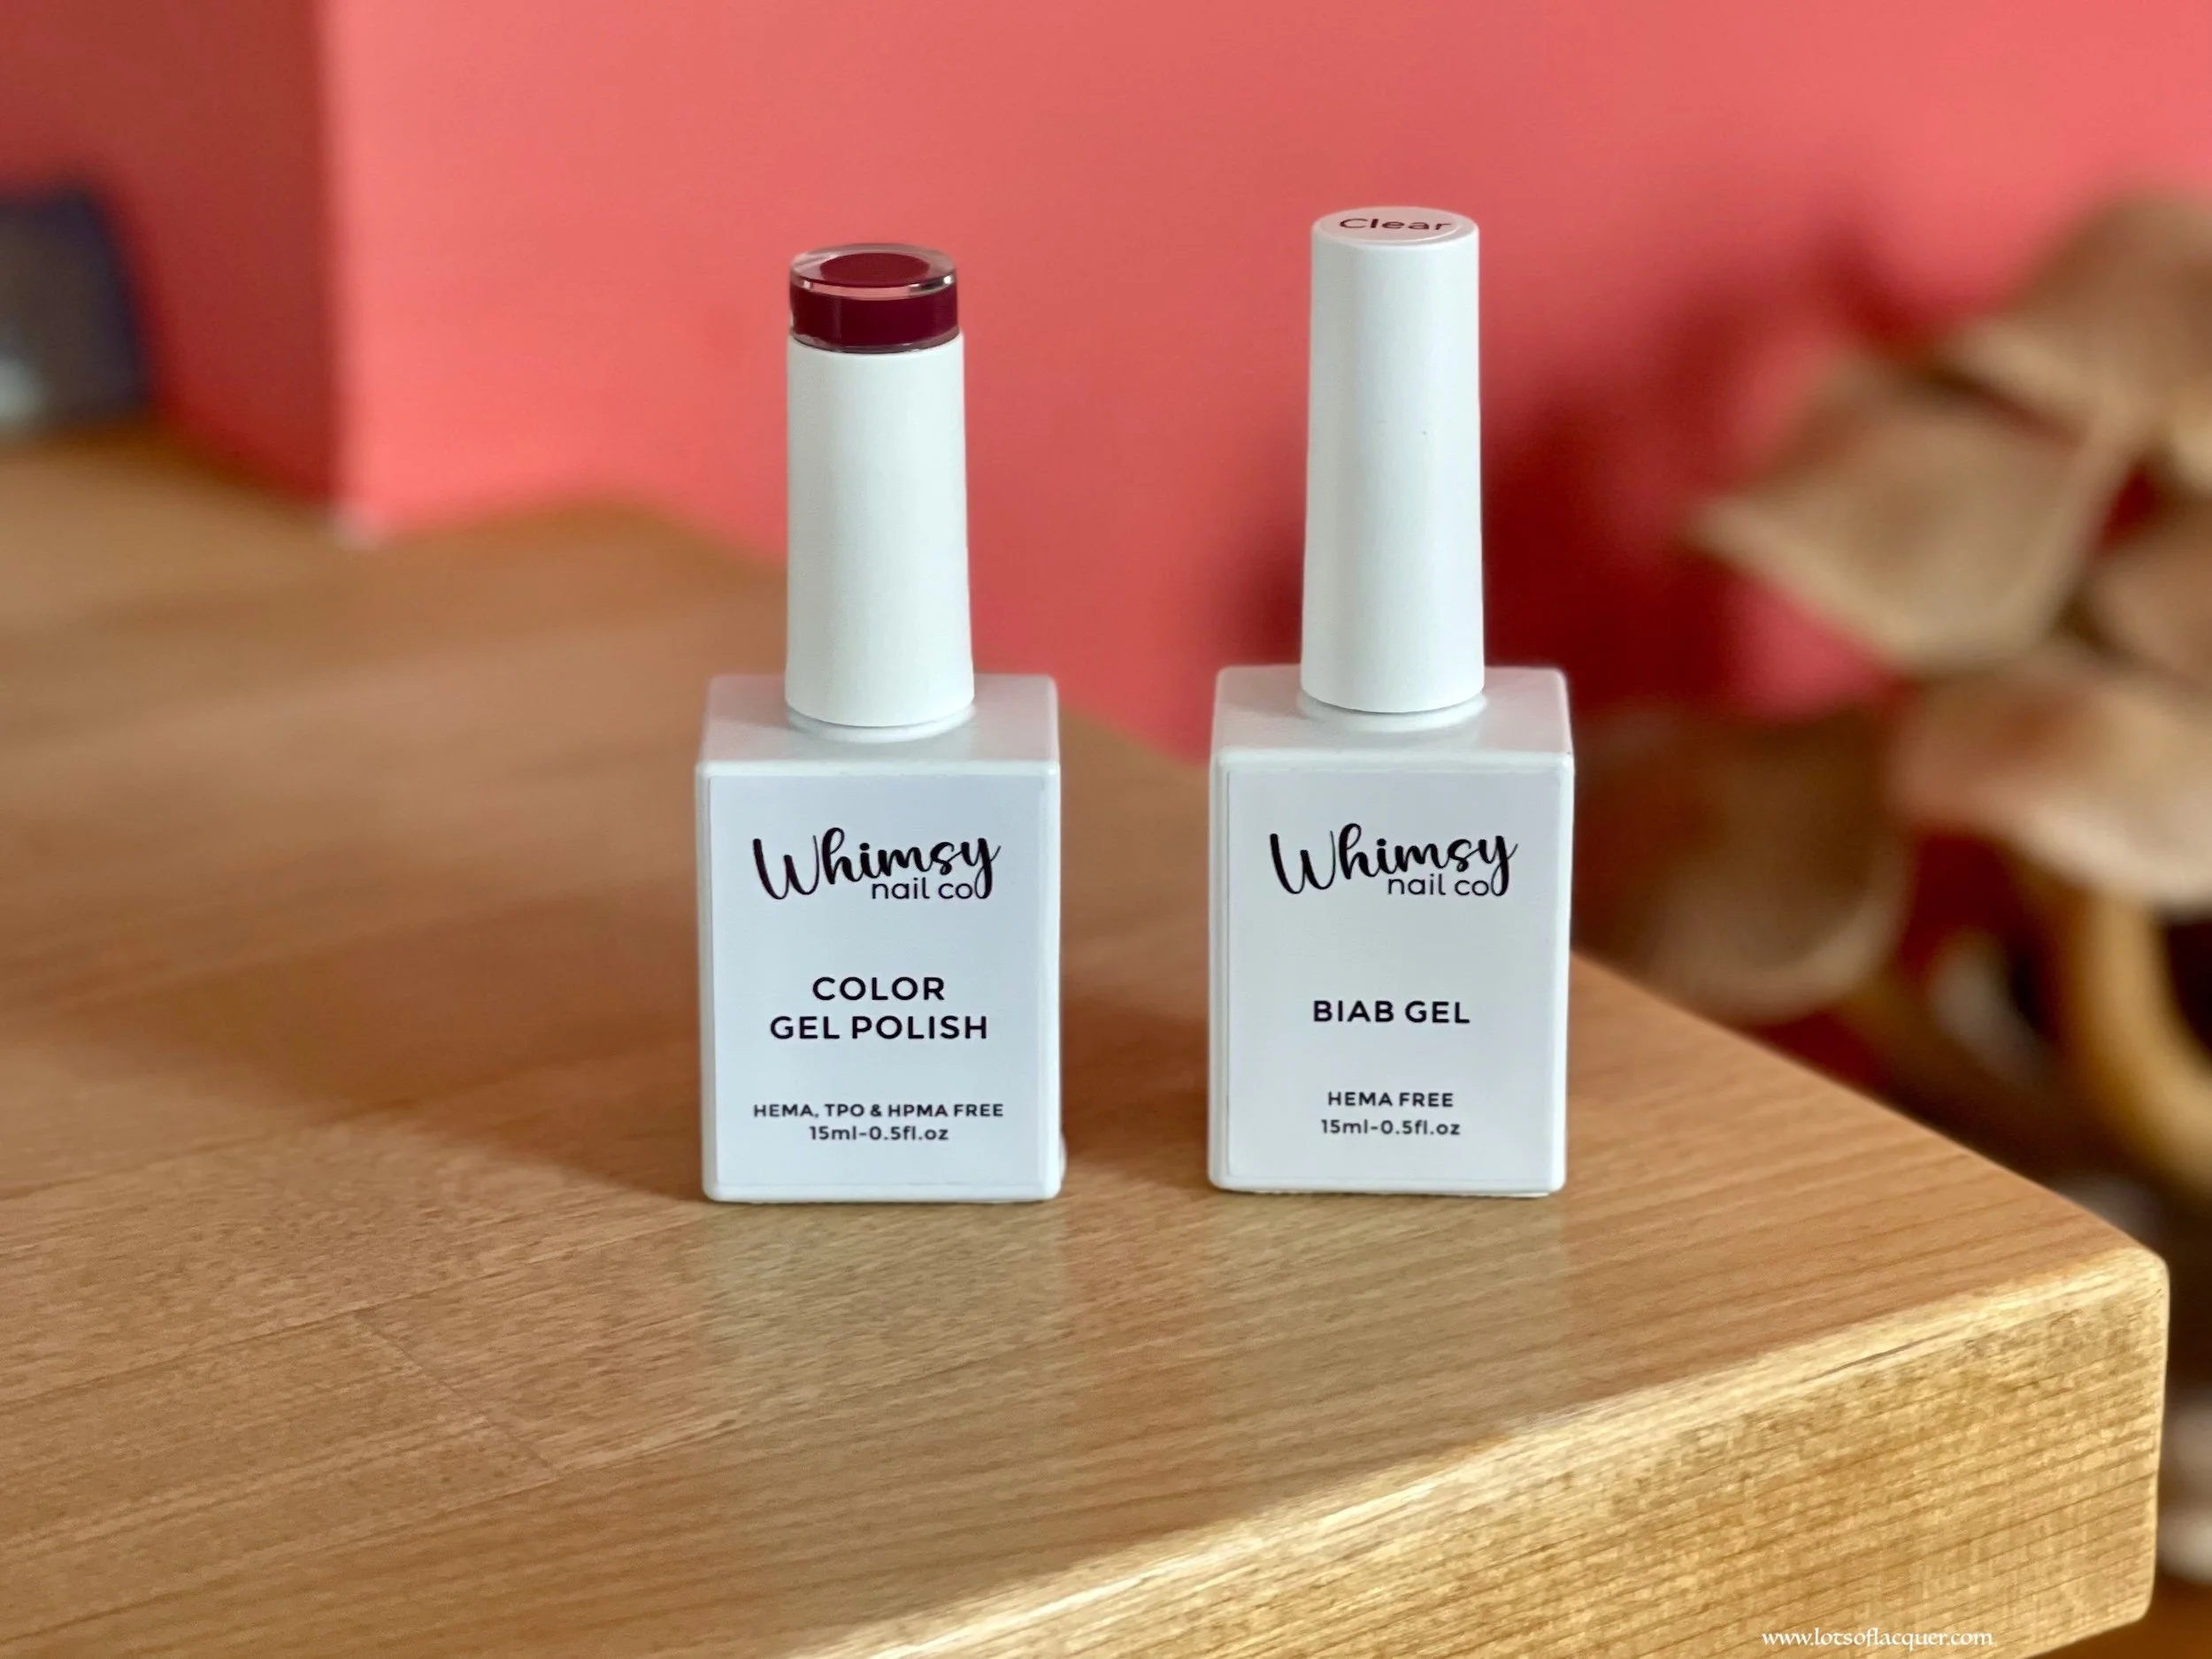
The owner of Whimsy Nail Co. kindly sent me their new gel products to try, including their Clear Builder Gel.
Since I've been curious about builder gel for quite some time, I’ve been excited to finally put it to the test and share my experience.
If you’re not familiar with the brand, Whimsy Nail Co. is an independent nail company best known for its dip powders, but they've recently expanded into gel products.
They also have a big heart as 10% of every purchase supports programs for adults with intellectual and developmental disabilities, so every manicure gives back to those who need support.
Whimsy Nail Co. Clear BIAB Review
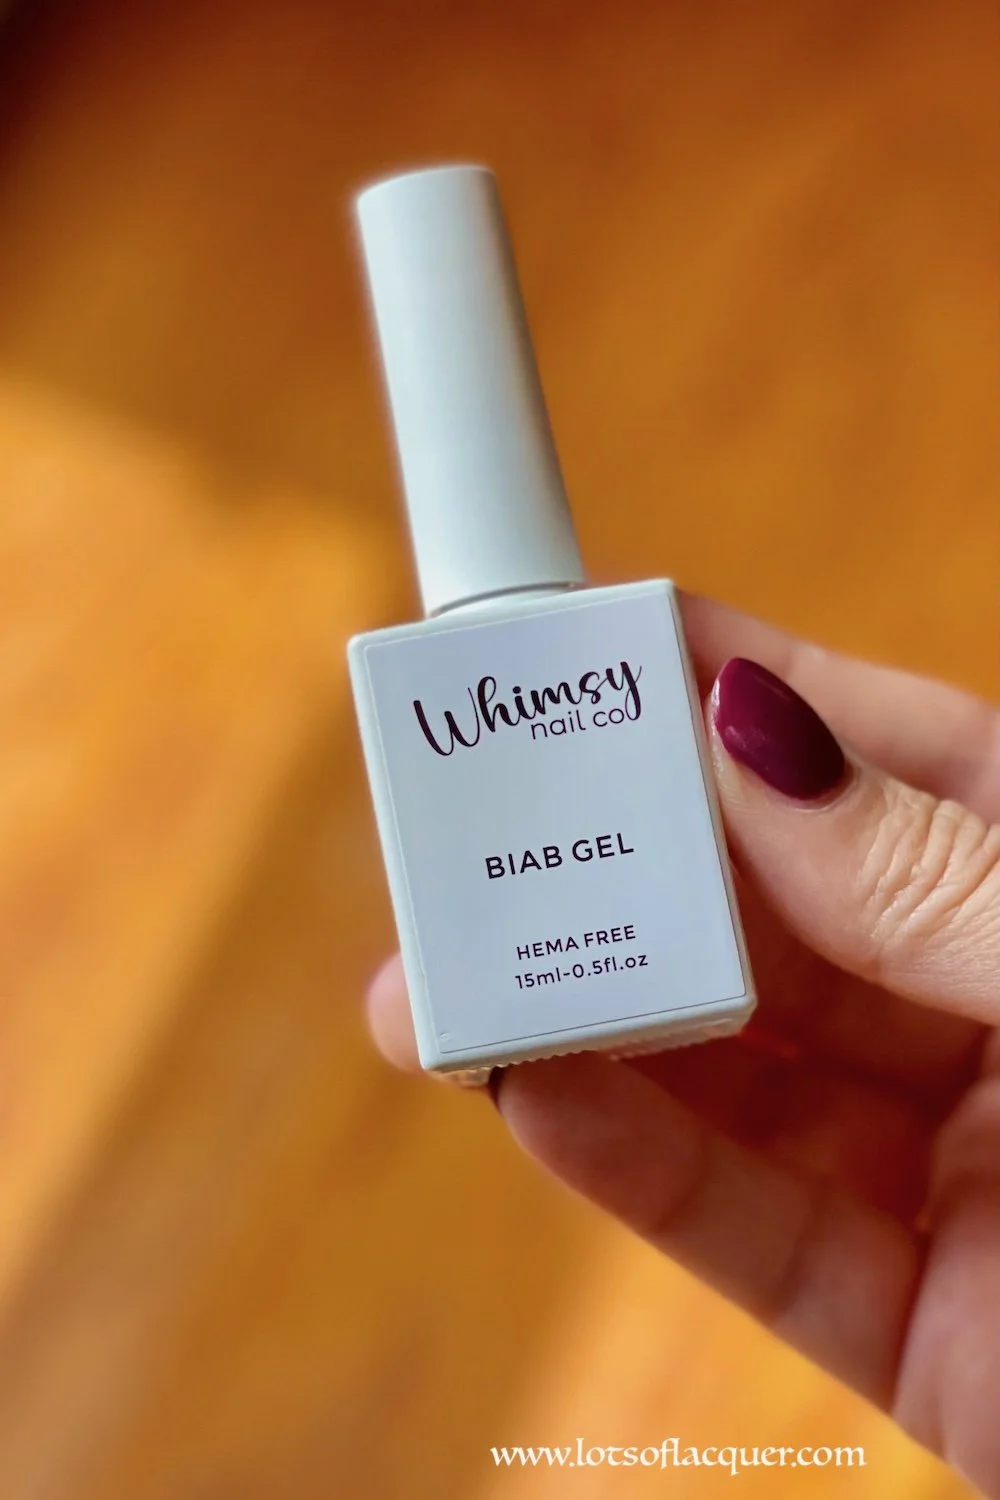
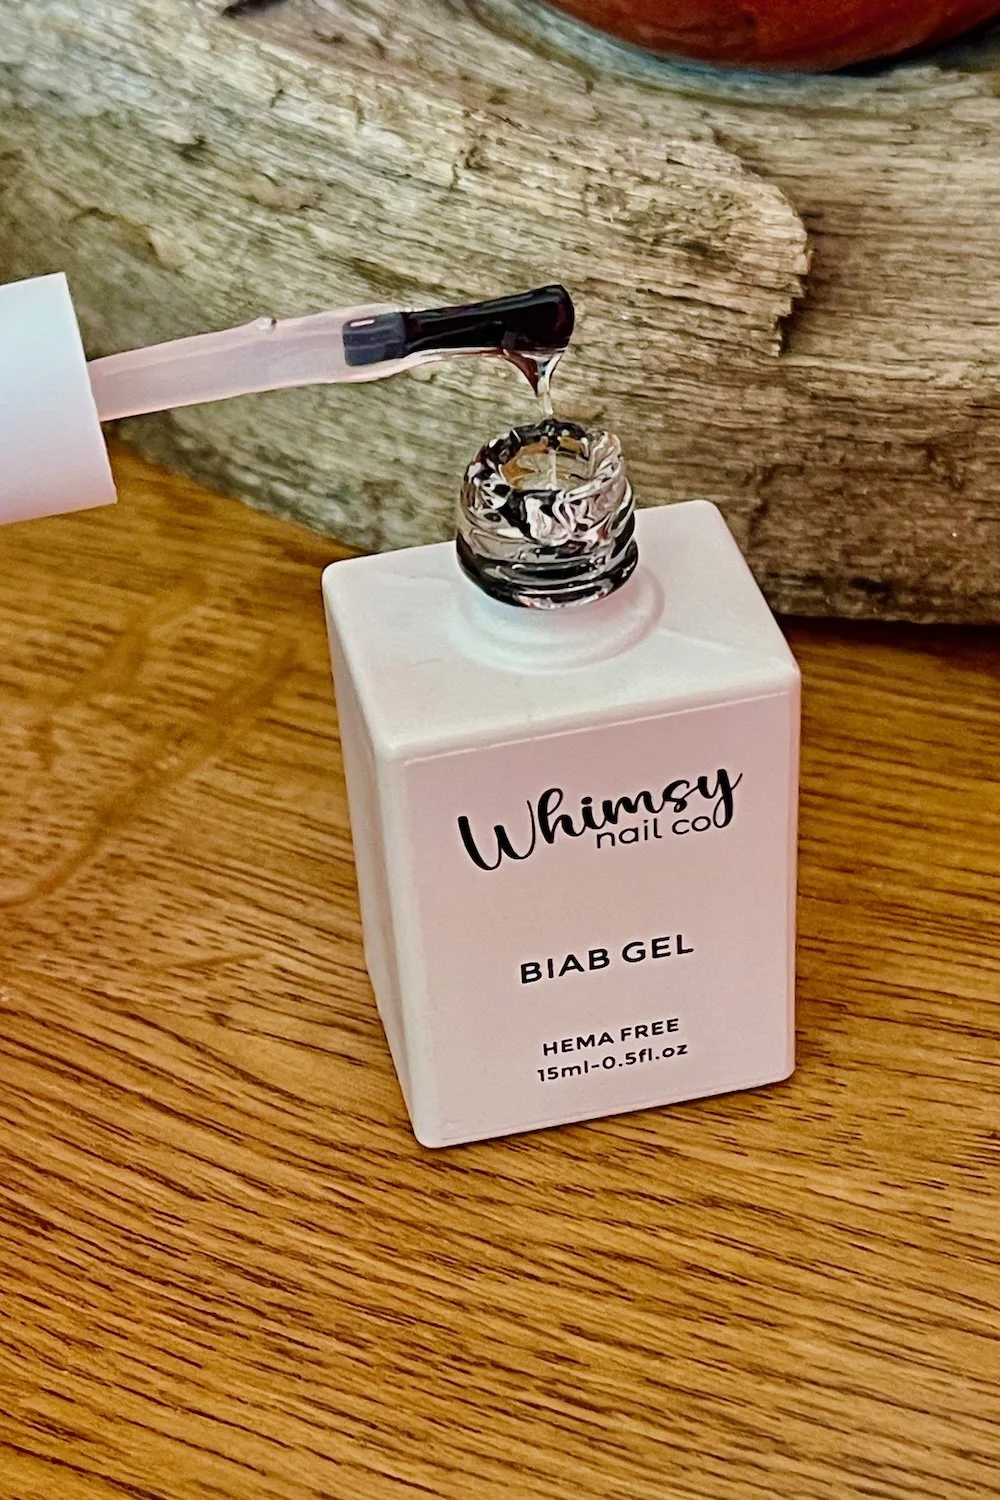
Unlike a traditional gel base coat, builder gel helps reinforce natural nails, adds durability, and creates a subtle apex for a smoother, more sculpted look.
Because BIAB is a soft builder gel, it soaks off like regular gel polish. Hard builder gels, by comparison, must be filed off.
Builder gel can be worn alone or topped with color, but either way, it is used to strengthen your nails, increase your gel manicure’s longevity, and add shape.
How to Apply Builder Gel (BIAB)
If you're new to Builder-in-a-Bottle (BIAB), here's the basic application process I followed using Whimsy Nail Co.'s Clear BIAB.
1 - Prep your nails.
Push back your cuticles, buff your nails to remove shine from the nail plate, and cleanse your nails with a dehydrator. Finish with a primer if you have one.
2 - Apply a base coat (optional).
Whimsy Nail Co. recommends using a gel base coat first. I skipped this step and applied the builder gel directly after prep because I wanted to test using BIAB as my base layer.
3 - Apply a thin slip layer.
Brush on a thin layer of builder gel without curing it.
4 - Build the apex.
Place a small bead of builder gel in the top center of the nail. Using the brush, gently guide it down the nail, swishing the brush side to side, toward the cuticle and free edge, allowing the gel to self-level while creating structure.
5 - Refine the shape.
Before curing, use a fine liner brush if needed to smooth the gel and perfect the apex.
6 - Cure.
Cure according to your lamp's specifications and Whimsy Nail Co.'s instructions, which is a suggested 30-90 seconds for LED lamps, depending on the lamp and 120 seconds for a UV lamp. I cured it for 90 seconds in an OPI Star Lamp.
7 - Buff and shape.
Once cured, lightly file and buff to refine the surface and shape.
8 - Apply color and top coat.
Finish with your favorite gel polish and seal everything with a gel top coat. Cure between each coat.
I chose to go in with the slip layer right away because many DIY nail lovers and nail techs in my local nail community use soft builder gel as the base layer itself and I was very curious about trying that technique out.
After curing, you refine the shape by buffing, which I found surprisingly satisfying. This step reminded me a lot of dip powder’s buffing process.
Sculpting the gel was my favorite part. It felt creative and relaxing, and I enjoyed taking my time perfecting each nail.
If you're new to builder gel, one thing to expect is a possible heat spike during curing.
Because there's more product on the nail, the curing reaction generates additional heat, more so than when applying regular gel polish. If it becomes uncomfortable, simply remove your hand from the lamp for a few seconds before continuing to cure.
Although I'm still practicing my builder gel technique, I really enjoyed the added strength and structure it gave my natural nails.
Now that I have tried it, I can definitely see why BIAB has been so popular and I can also see myself reaching for BIAB whenever I want a manicure that lasts a little longer or when I’m looking for a little durability, shape and perhaps even, an artistic release.
Whimsy Nail Co. Over Achiever Swatches
Now for the color, shown in a variety of lighting scenarios.


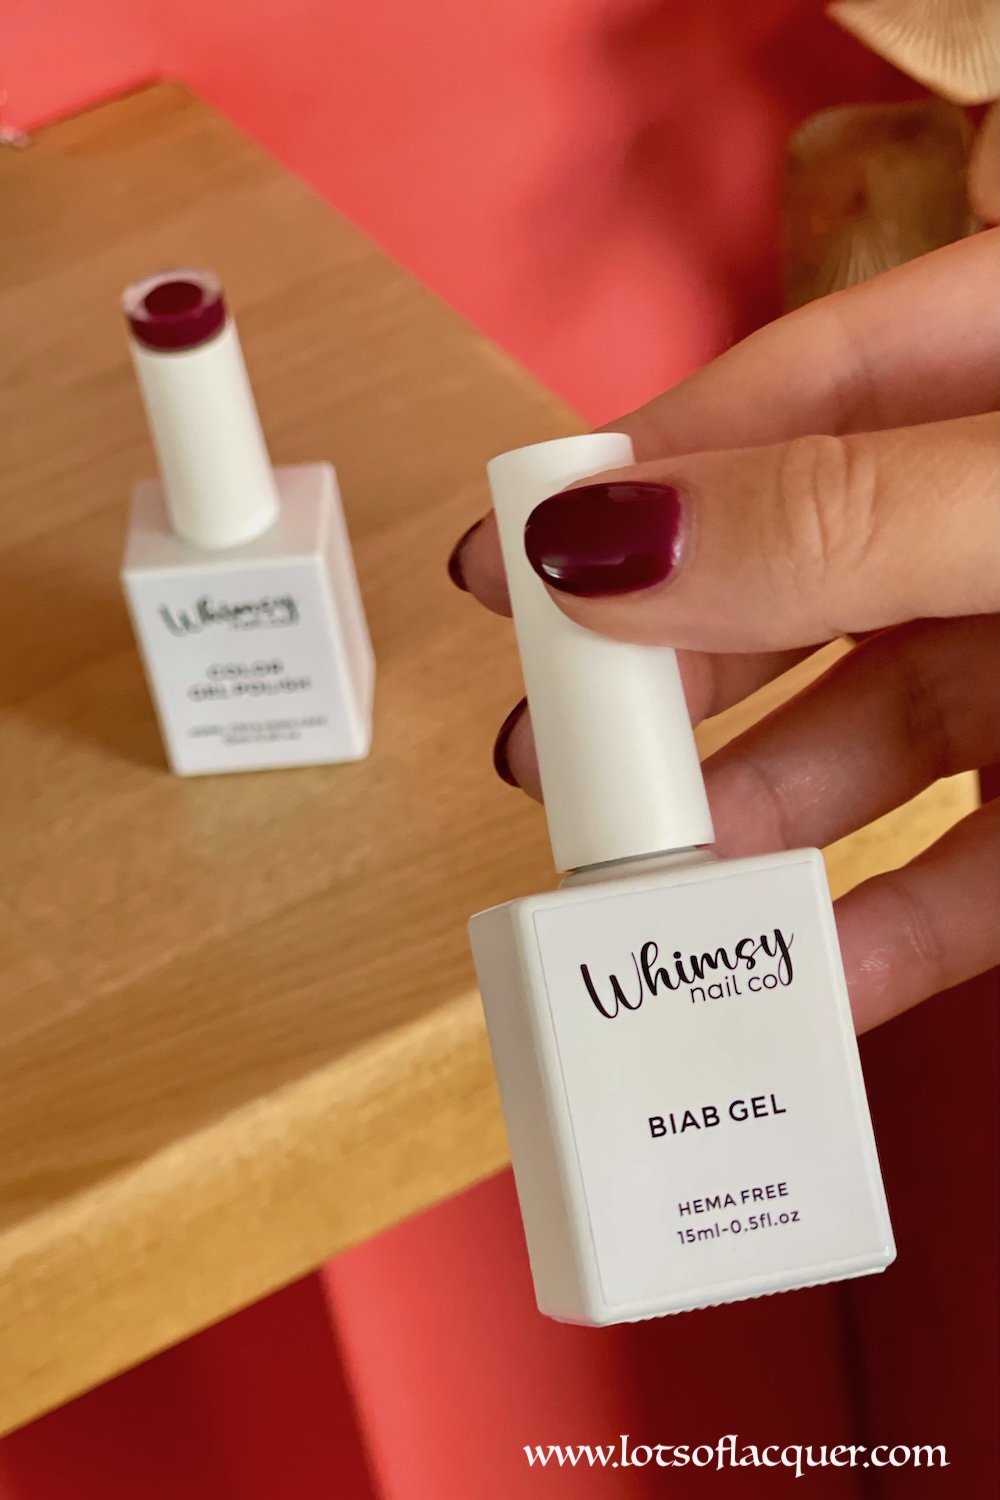
For these swatches, as mentioned above, I wore Over Achiever over the Clear BIAB for extra strength and a softly sculpted finish.
The formula applied smoothly, leveled well, and the rich berry shade makes an elegant seasonal manicure without feeling overly dark.
Final Thoughts
It makes me excited for my next BIAB manicure, although I’m still wearing the one we’re discussing today.
While I'm still learning the sculpting process, I appreciated the extra durability it provides and enjoyed how customizable the application felt.
Paired with Over Achiever, the result was a glossy, long-lasting berry manicure that's perfect for fall.
Have you tried soft builder gel? I'd love to hear your favorite application tips in the comments.
Shop the products:
Use code LOTSOFLACQUER for 10% off your order
Other Articles You May Enjoy: