
Easy Minimalist Nail Art: A Simple Dot Manicure Tutorial
Published 2026-07-31. This post contains affiliate links, which means I may earn a commission if you make a purchase. As an Amazon Associate I earn from qualifying purchases. Use my link to shop online at CVS.com for all your beauty, health and wellness needs and pickup in store for free! #CVSPartner #ad
Lately, I've been on a mission to learn a handful of easy nail art designs that I can easily recreate without making a huge mess or spending hours on it.
My goal is to build a collection of simple go-to manicures, and whenever one turns out well, I'll be sharing it here on the blog.
So today, I’m sharing this easy minimalist dot manicure and exactly how I created it while relaxing outside on a Sunday afternoon.
I actually got the idea for this manicure last winter while watching a YouTube history documentary about ancient jewelry artifacts.
In the middle of admiring centuries-old jewelry, I noticed that a couple of the historians were wearing these tiny dots on their manicure and honestly, I couldn't stop looking at their nails or thinking about their dot manicures ever since.
What Is a Dot Manicure?

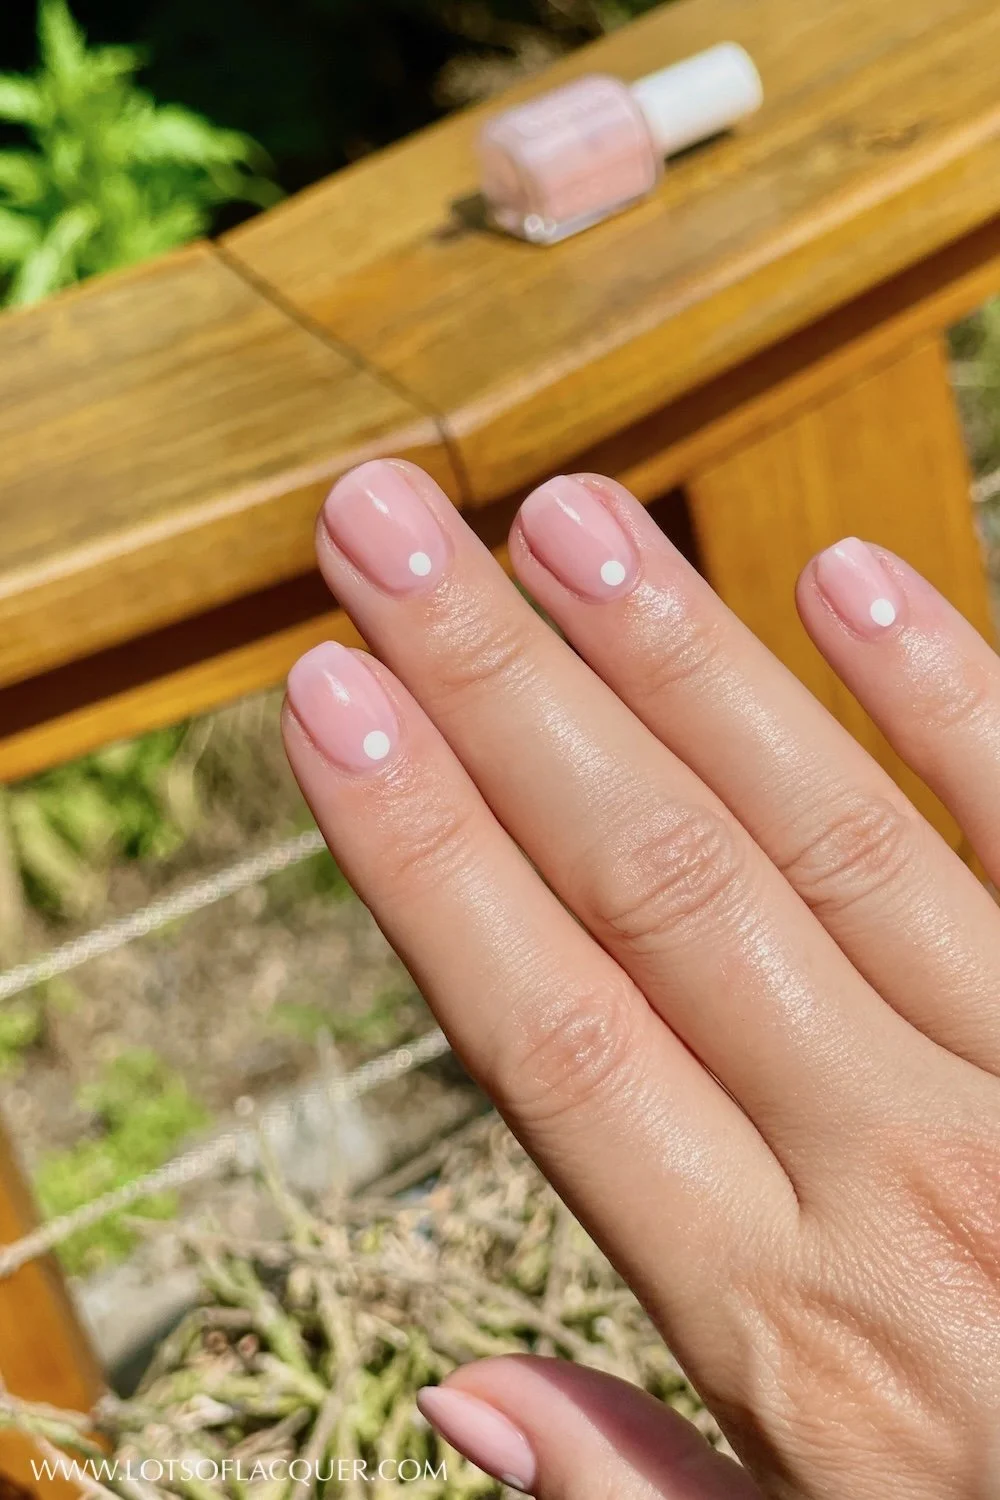
A dot manicure is a minimalist nail look that is so chic, so elegant, so simple, yet refined. It features a single opaque dot at the top of each nail over a neutral or sheer base color.
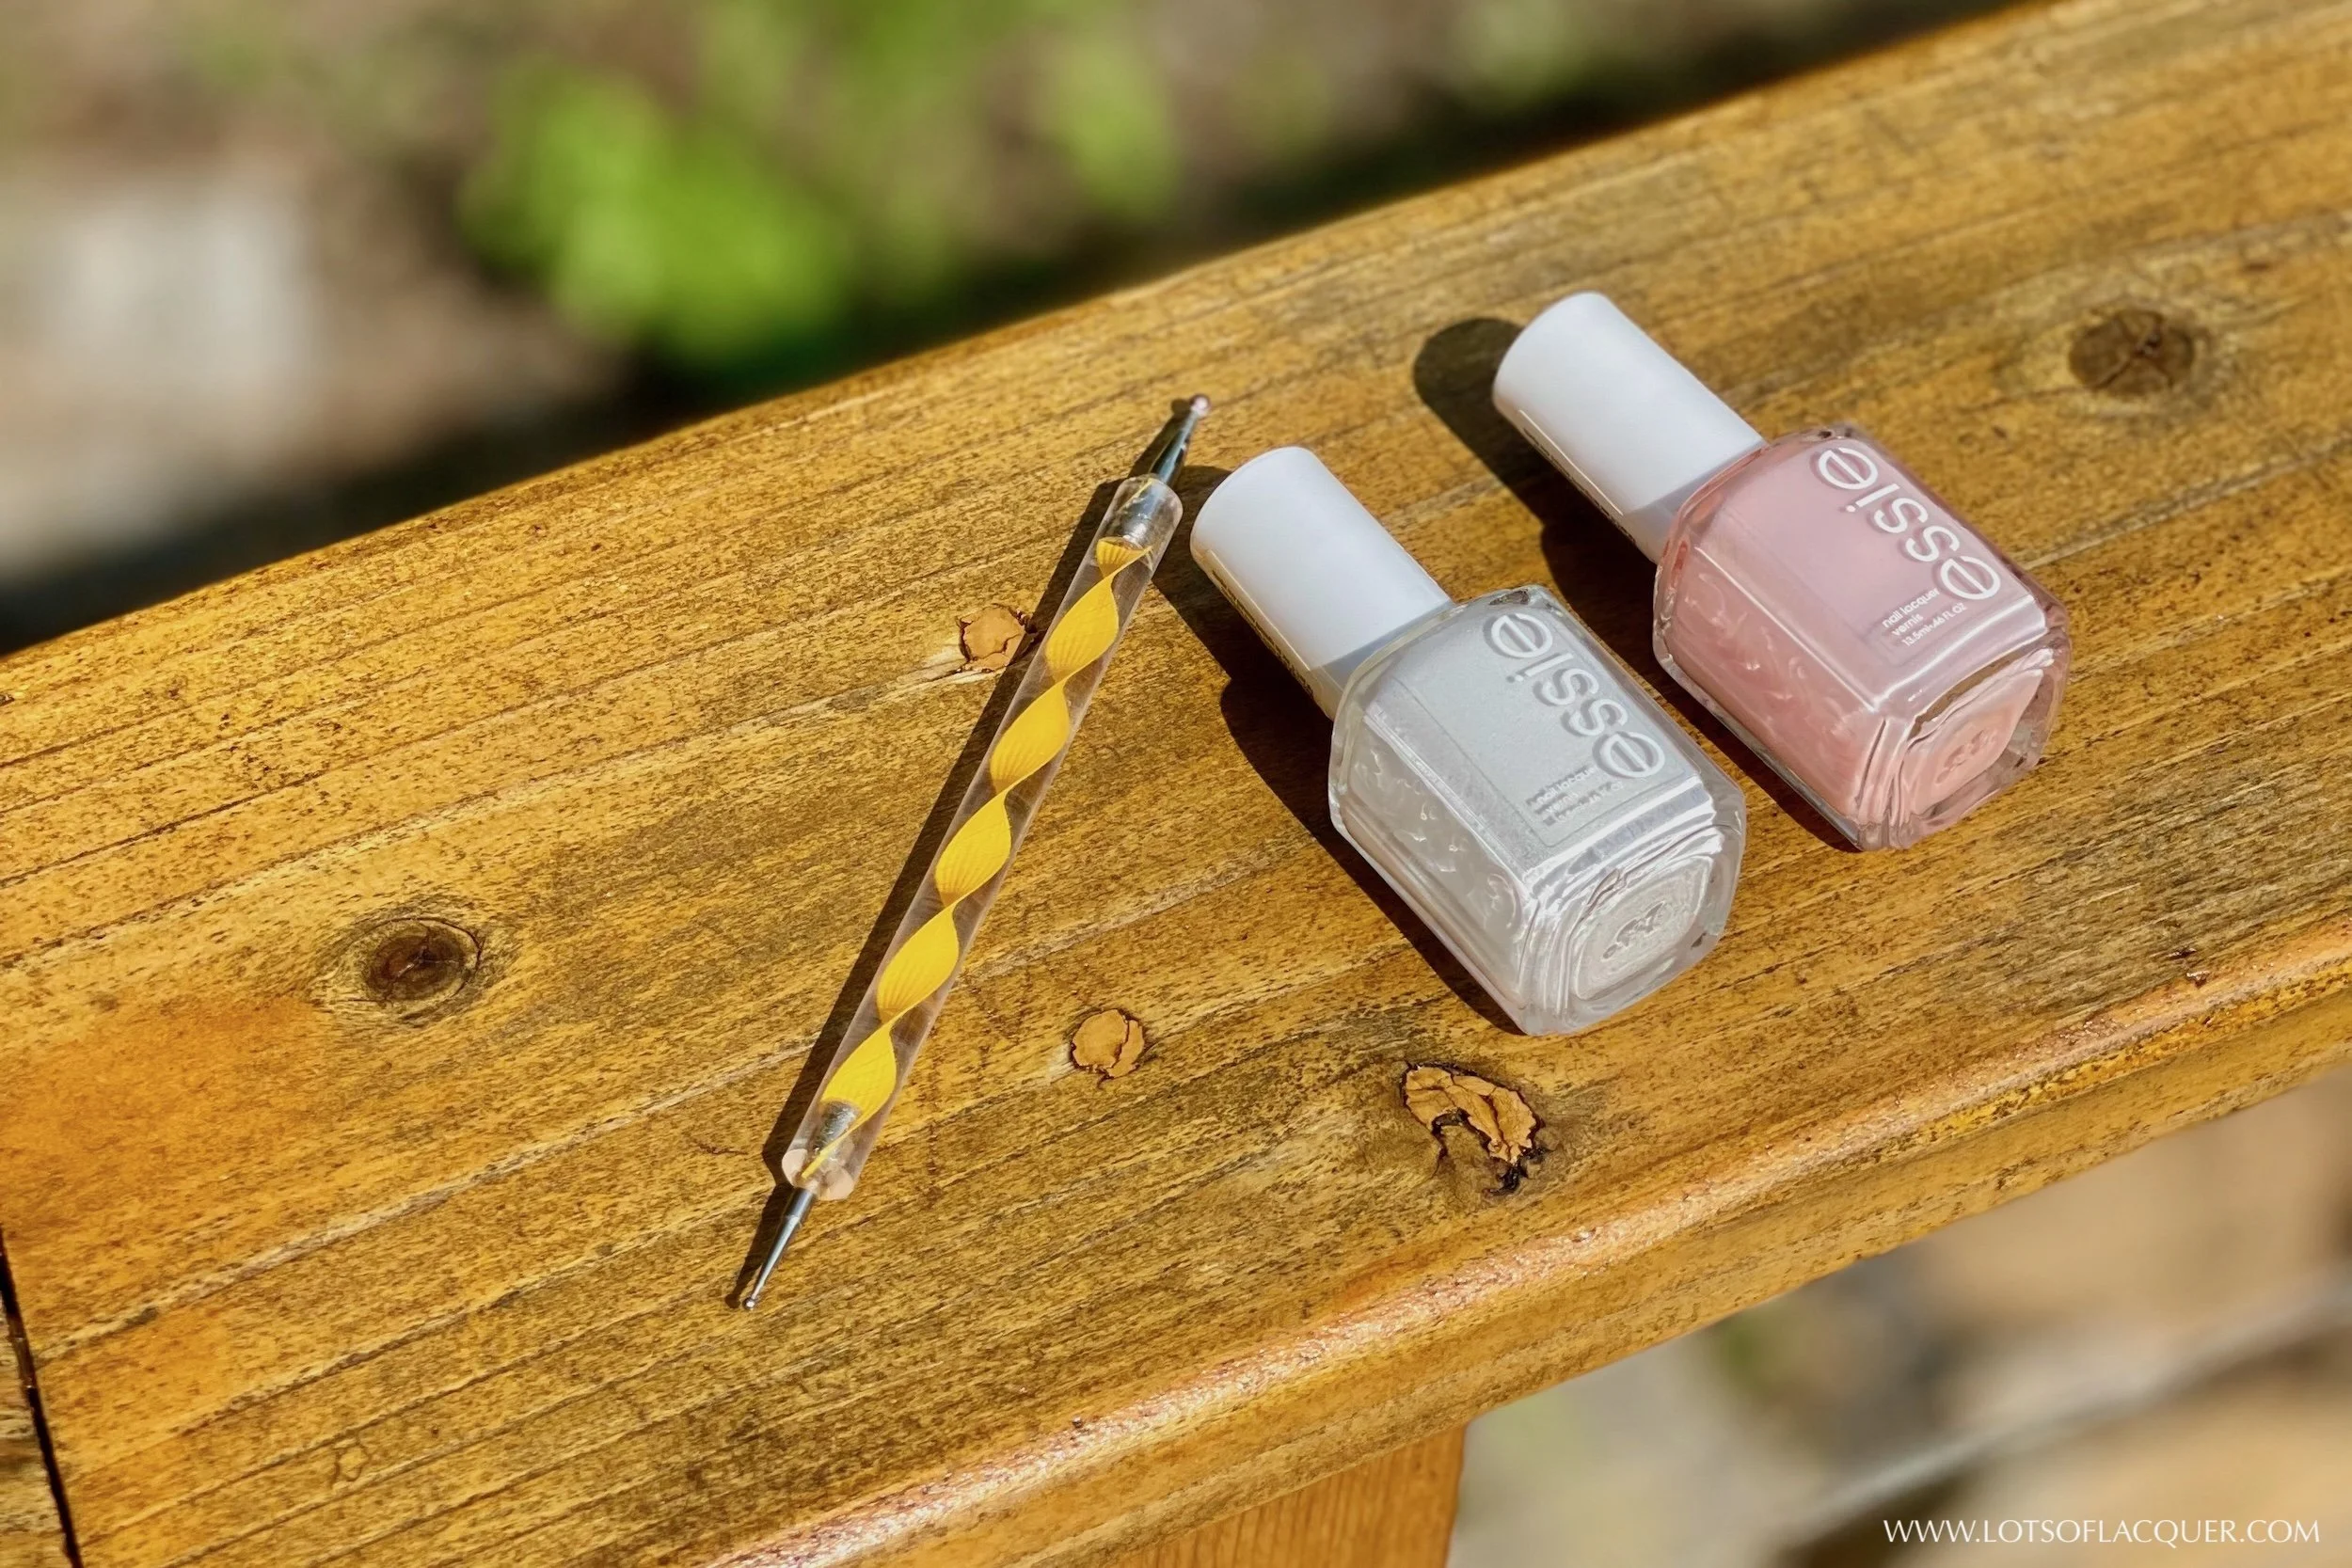
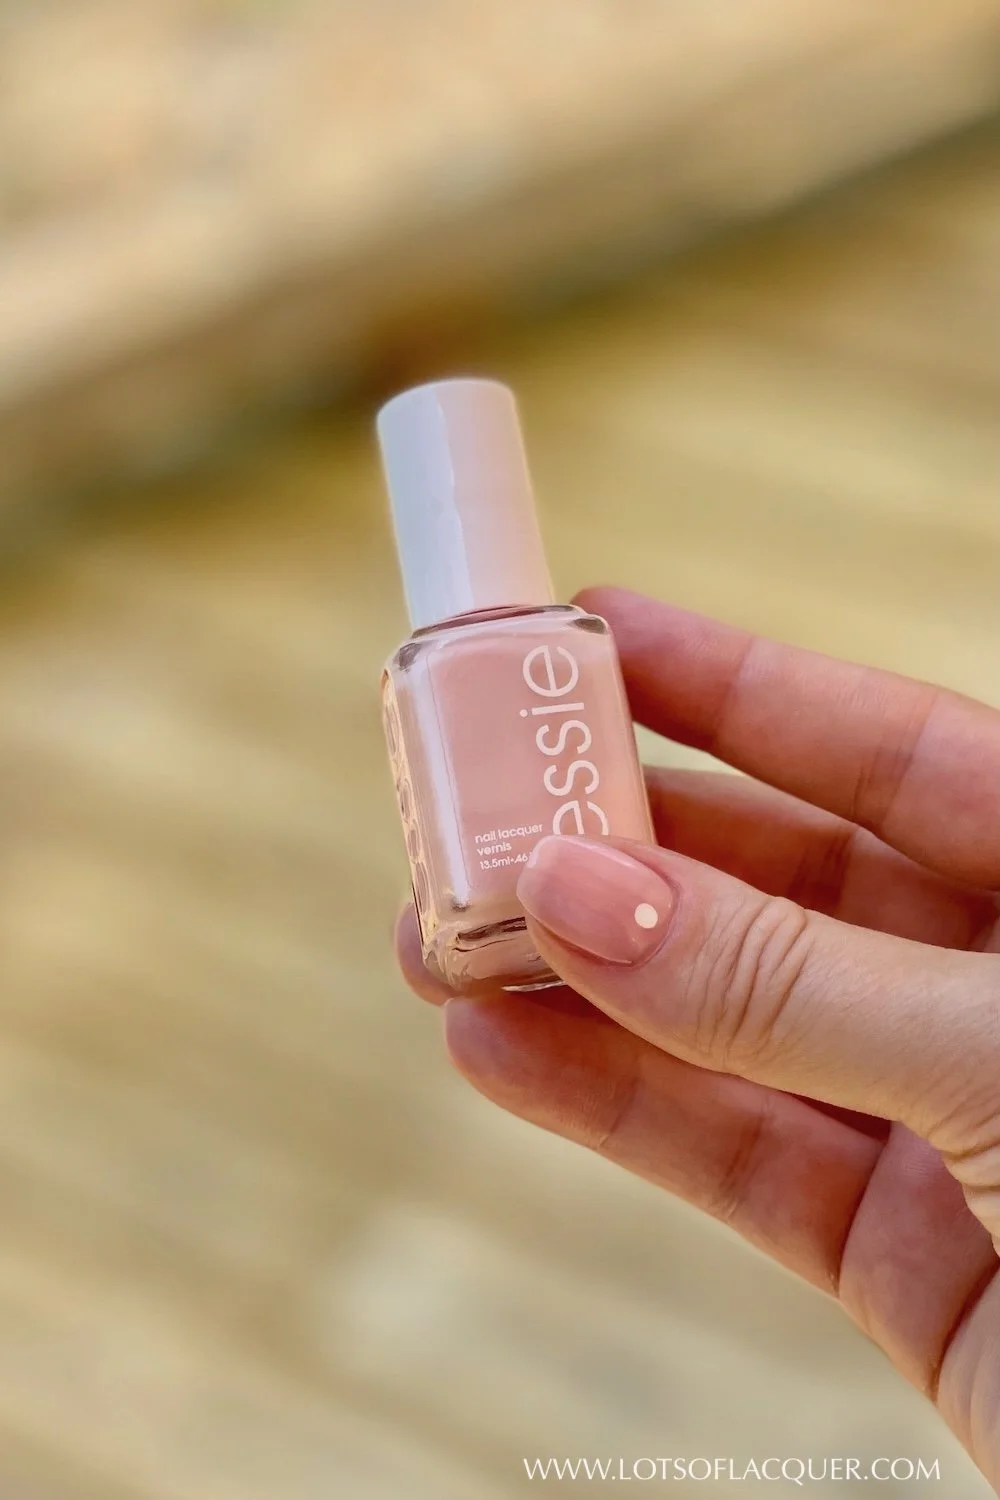
Before you get started, you'll need a base coat and a sheer or neutral nail color. I used Essie Hi Maintenance, one of my favorite sheer pink nail colors.
You'll also need a top coat and an opaque polish for the dot.
Since it's summer, I chose Essie Blanc, a classic creamy white nail color that I use all the time for nail art, but you can use whatever color you like.
White, black, blue, and burgundy are some of the shades I've seen most often. I definitely want to try a black dot manicure once the weather cools down a bit.
You'll also need a silicone mat or small glass dish you don't mind getting polish on, acetone, a cleanup brush, and a dotting tool.
Why I Recommend a Dotting Tool
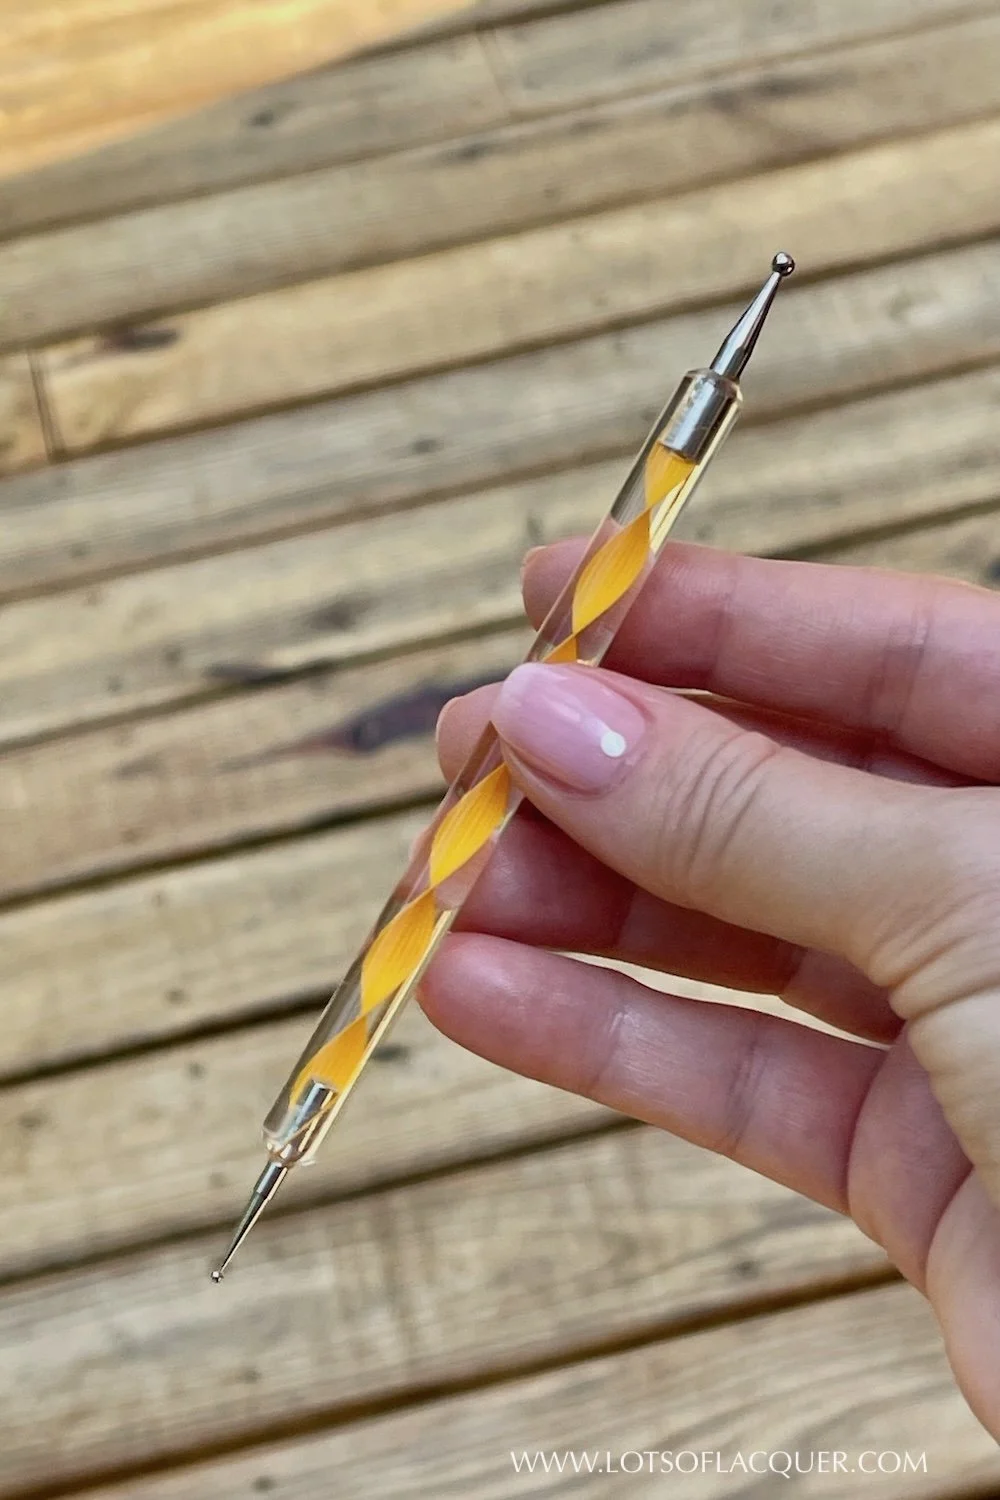
While you can technically use a toothpick or bobby pin to create dots, those hacks have never worked well for me.
The pointed end of a toothpick can dent the polish underneath, and the dots usually come out too small, leaving you trying to widen them with uneven results.
Bobby pins aren't much better. If you clean the tip with acetone while practicing, the rubbery coating can come off, leaving you with the bare metal end underneath. And the bare metal end is a rectangle, not a dot.
It's much easier to control the size of your dots, they're inexpensive, and they last forever. I've had my dotting toolset for years and haven't needed to replace it yet.
Most dotting tool sets come with several different tip sizes, so you can experiment until you find the look you like.
For this manicure, I used one of the larger ball tips from my orange dotting tool, but you can go smaller or larger depending on your style.
Overall, these are the supplies you'll need for this easy dot manicure:
Step 1: Apply Your Base Coat and Color
Start by applying your favorite base coat.
I think matching your base coat, color, and top coat can help everything work together a little better, but don't worry if you don't have matching products.
Most base coats work perfectly well with different polish brands.
I'm currently between restocks, so I used Nail Aid 3 Day Growth as my base coat because they sent it to me to try out. I like it, and it's what I have on hand.
Once your base coat is dry, apply two coats of your sheer or neutral base color, allowing each coat time to dry before moving on to the dots.
Step 2: Create the Dots
Now that your sheer base color is dry, pour a small dollop of your dot color onto your silicone mat or glass dish, then dip your dotting tool into the polish.
If you're unsure what size dot you want, test a few different tips on your mat or dish first. Once you've found a size you like, clean your tool with acetone to remove any polish buildup before starting on your nails.
Working one nail at a time, lightly tap the dotting tool onto the wet polish and then onto the center top of each nail.
Refill the tool whenever you notice the dots getting smaller, which is usually every one to three nails.
Continue until all ten nails have their dots in the top center of the nail.
It doesn't look like much while you're doing it, but once every nail is finished, it comes together.
Now let the dots dry completely.
Because they're thicker than brushed-on polish, they take a little longer to dry. So pour yourself a glass of wine, scroll your phone, and just chill for a few minutes.
Step 3: Seal with Top Coat
The real trick is to avoid dragging the top coat’s brush bristles directly on the dot.
Instead, load your brush with a generous bead of top coat on the tip of the brush, then gently place it on the top of the nail so it covers the dot first.
Once the dot is covered, then lightly pull the brush down the lengths of the nail.
Allow everything to dry for another minute or two, then use acetone and your cleanup brush to tidy around the cuticles and nail edges.
Finished Minimalist Dot Manicure
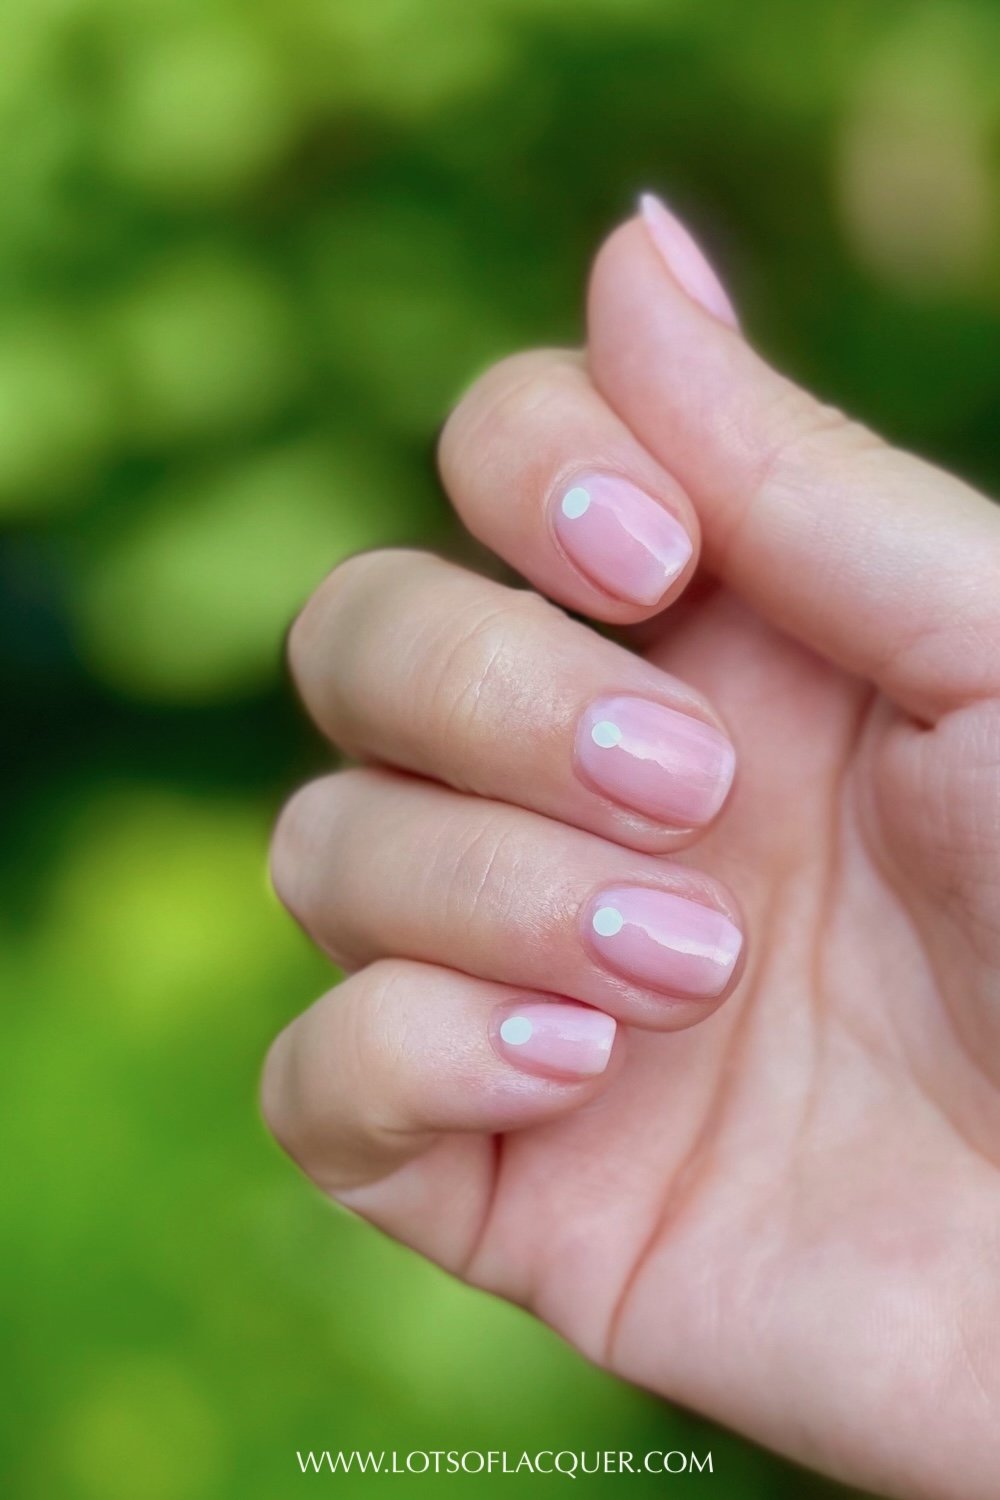
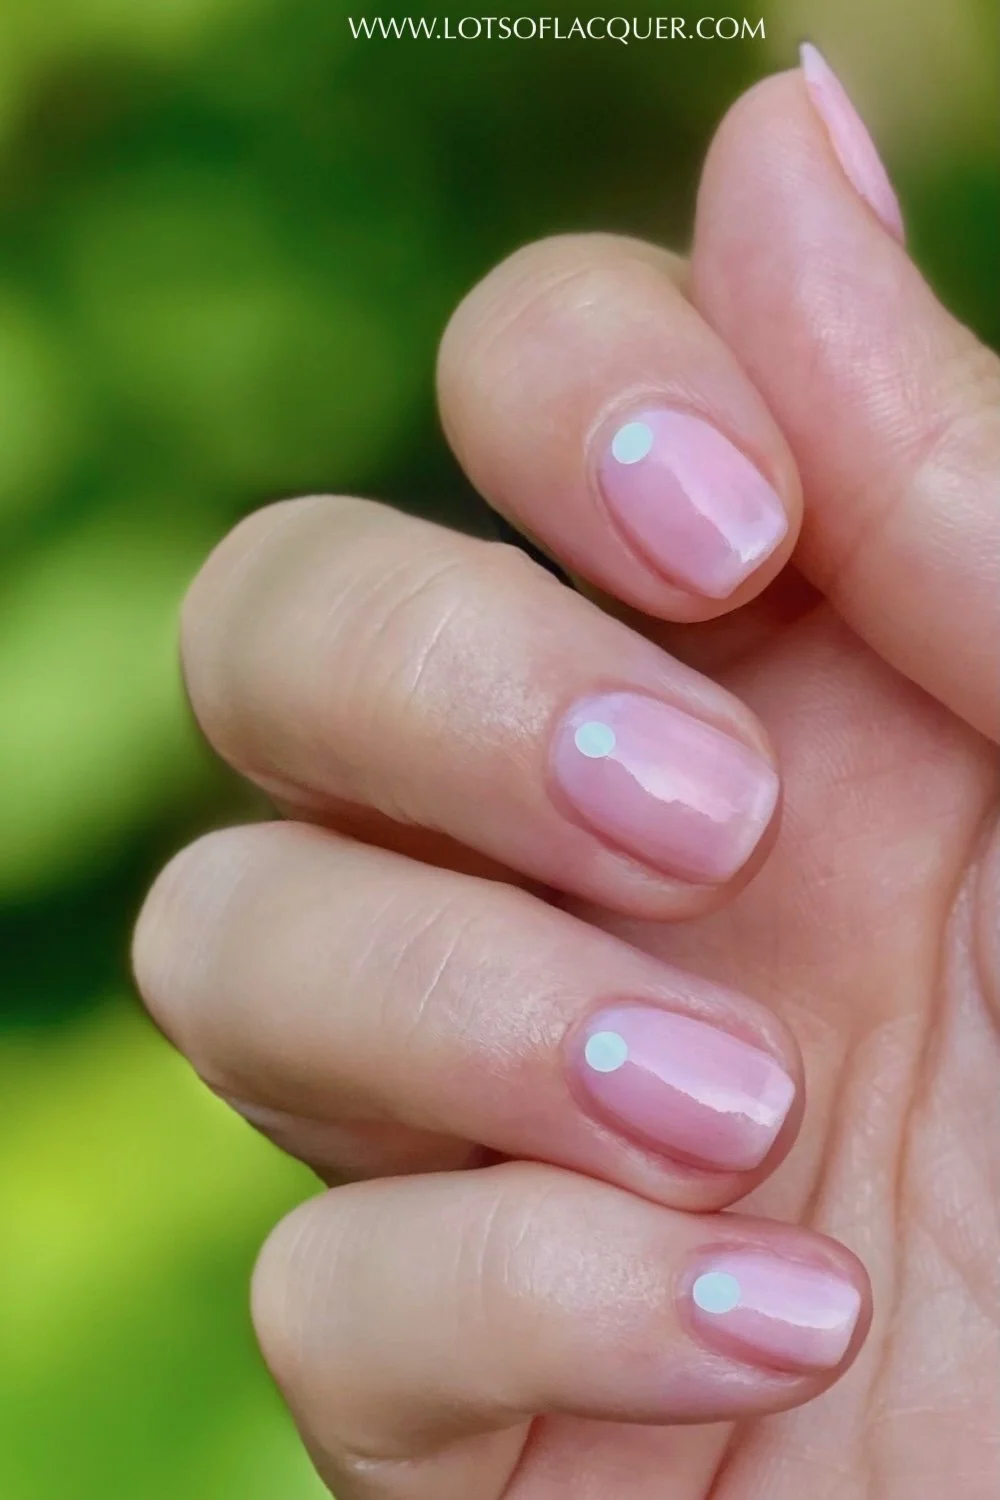
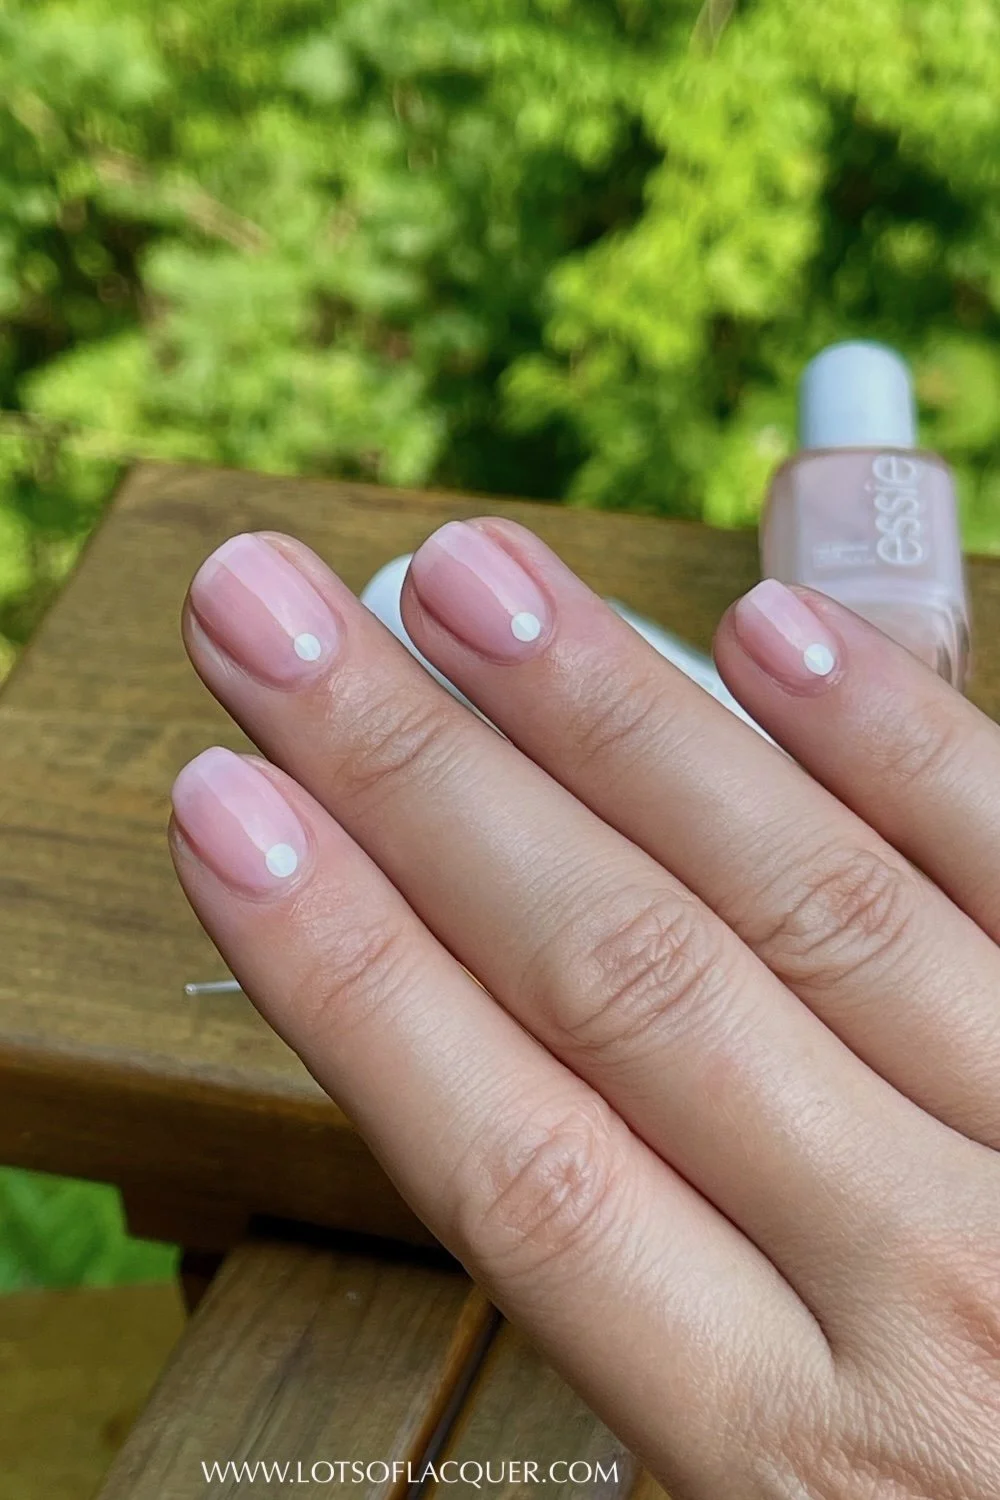
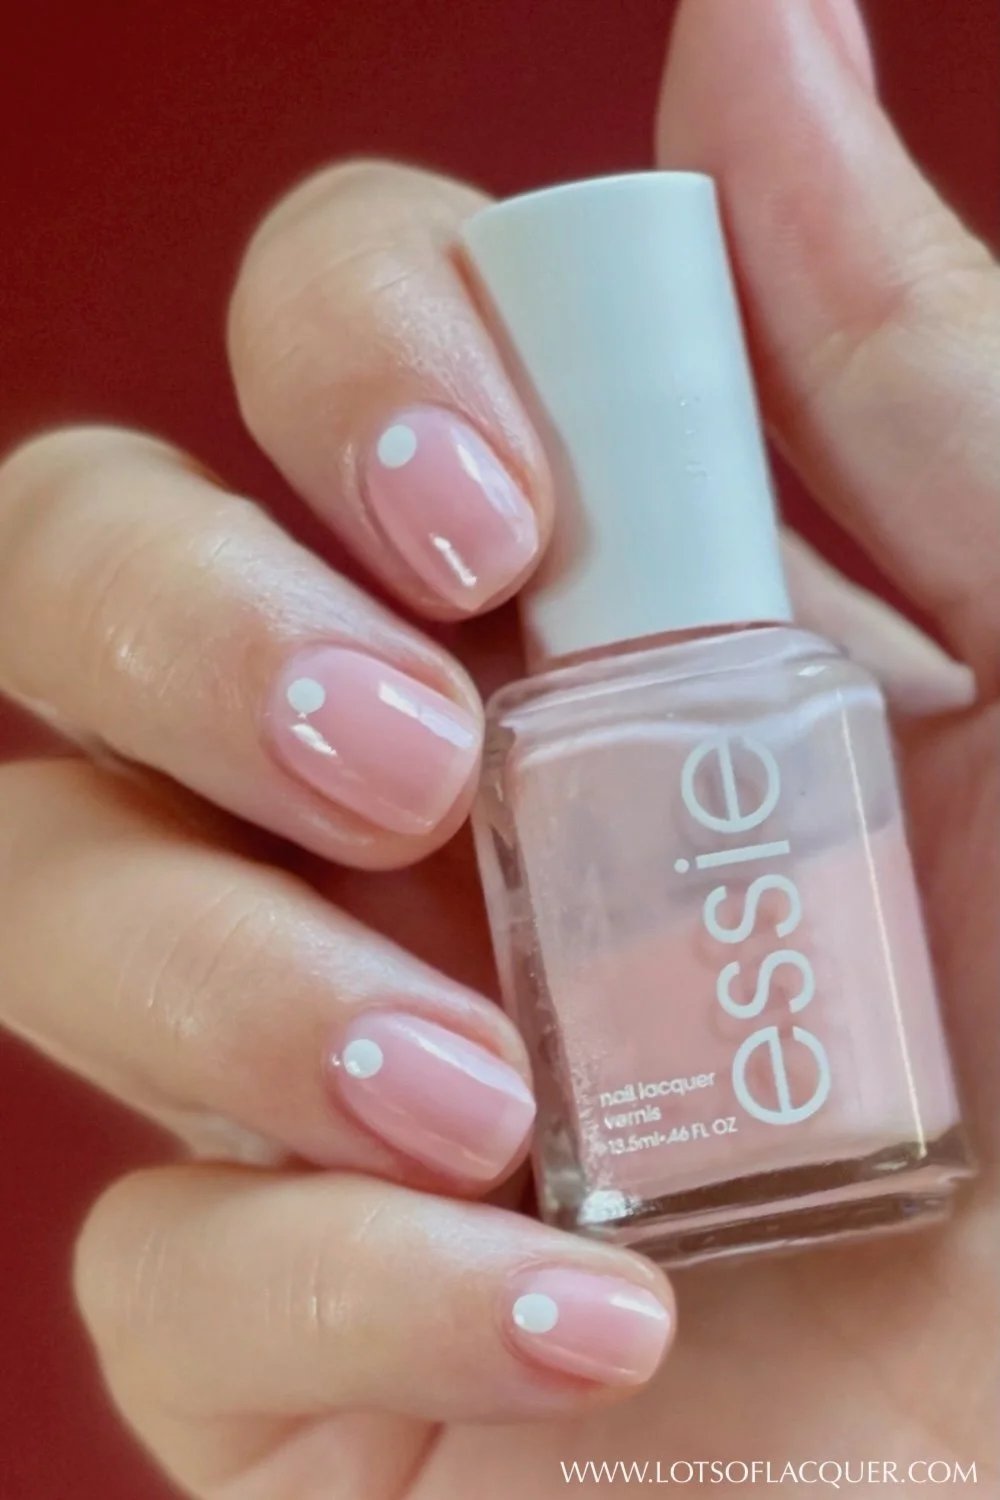
To recreate this simple dot manicure, the supplies I used are:
What do you think of this simple, but easy nail art? Do you think you’ll give it a try?
I love how this manicure turned out. I’m glad I tried it after having it on my mind since last winter.
It's clean, understated, and looks cute, polished without spending hours on it. This is going to become one of those designs I come back to whenever I want something simple that still feels a little unique.
For more nail art like this, subscribe to Lots of Lacquer on Youtube!
Other Articles You May Enjoy:
Amazon and the Amazon logo are trademarks of Amazon.com, Inc. or its affiliates.