
The Complete Guide to Salon Quality At-Home Manicures
Published 2026-08-07. This post contains affiliate links, which means I may earn a commission if you make a purchase. Some products were gifted as PR samples, but all opinions are my own. As an Amazon Associate I earn from qualifying purchases.
If you’re wondering how to do a manicure at home, the benefits of having freshly manicured nails, the tools you may need and how to care for your manicure so it lasts the longest, in this blog we’ll discuss all of these things.
You can give yourself a salon quality manicure from the comfort of your own home!
I’ve been doing it consistently for the past 10+ years and below I’ll go over the steps to achieving beautiful long lasting results for your at home manicure using regular, air dry nail polish.
When it comes to getting your nails done, the saying “there’s no place like home” was famously first uttered by Judy Garland in the 1939 film, The Wizard of Oz, and in my opinion, she was right.
In an uncountable amount of ways, for almost every facet of our lives, there is no place like it. Home is your headquarters, and home field advantage can be a real thing, even for your manicures.
Home is where you can build out your personal nail workstation, whether it be in a mobile carriable kit, or a permanent beauty bar in your most relaxing personal quarters.
The benefit of at home manicures is not only comfort, where you can even do your nails in your jams (pajamas), but the consistency you can achieve in this environment is unparalleled.
The elements are on your side.
All of the tools and supplies that work best for you, are there.
The plethora of colors and accessories that bring you the most joy, or the ones you are wanting to experiment with, are there.
Time of application is on your terms, not a technician’s schedule, and how the overall process of prep-apply-solidify goes down can be done at your fluid whims, start to finish.
And maybe most importantly, beyond saving time, money, and the hassle of traveling to/from a salon, there is a real rewarding feeling when you personally achieve an awesome set of painted nails yourself.
You can get a consistent, beautiful, DIY at-home manicure every time when you follow the right steps and have the right tools in hand.
In this guide, you’ll learn how to perform a professional looking manicure from home, step-by-step, plus what tools and supplies are best for your at-home manicure workstation.
Before we dive in, the first thing you need to know about giving yourself a professional manicure at home is that it takes time - so give yourself about an hour to perform the steps in this guide.
This will allow you to take care of every detail and get a perfect smudge-free finish.
If you are using standard nail polish, you can speed up the processes inside using the tips in this nail blog to dry your manicure faster, but either way, an hour is a good length of time to plan to dedicate to your nails.
If you are using quick-dry polishes, cut this time down by 15-30 minutes, but keep in mind that some people enjoy their manicure time as “me time” and prefer standard polishes, so they have as long as possible to dedicate to self-care.
If the “take the long way” route is for you, this is fine, as self-care is important and one of the reasons why self-manicures, once you get the steps down, can be so relaxing.
For me, doing my own manicures is one of the best ways to unwind.
On the other hand, it’s sometimes nice to have quick-dry polishes around for days when you really need to keep it moving.
Given the mixed preferences on the best nail polish formula - quick or standard dry - in this guide, the drying times for both quick-drying and standard polishes are listed.
Now that we’ve covered all of that, let’s get to the heart of this guide - 10 essential steps of the at-home manicure process, from start to finish.
10 Steps for DIY Professional Looking At-Home Manicures
Step 1). Assemble your nail workstation
Nail workstations are the location in your home where you set up shop to perform your manicure or any nail maintenance.
Generally, a main theme of all nail workstations is that you will have at least one solid, sturdy, flat surface to work on and can place your supplies within arm’s reach.
Your workstation can be a temporary spot that bounces from area to area within your home depending on who’s there or time of day, or it can be a permanent space.
It can be made up of an end table, TV dinner stand, a spare desk, table, or even the wooden arm of a couch. All make great locations, but the best spot will be where you’re most comfortable, can do your best work, and have great lighting.
It may even take time for you to find the sweet spot(s).
Once you’ve identified your nail workstation location, assemble some supplies to keep your area clean and efficiently run.
Step 2). Gather your accessories, tools, and supplies in a kit
It’s best if all your nail supplies are in one place where you can grab them when you need them.
Your nail supply carrier, also known as your manicure kit, is a good way to store your active items (i.e the currently opened bottle of remover, or your select polishes for the season) and access them easily when needed.
Then, once your manicure kit is all set up, simply find your kit, transport your supplies to your nail workstation whenever the mood strikes.
Even if you’re still building a nail kit, with all your supplies in one place, before you begin painting, gather the necessary tools you’ll need to perform the manicure.
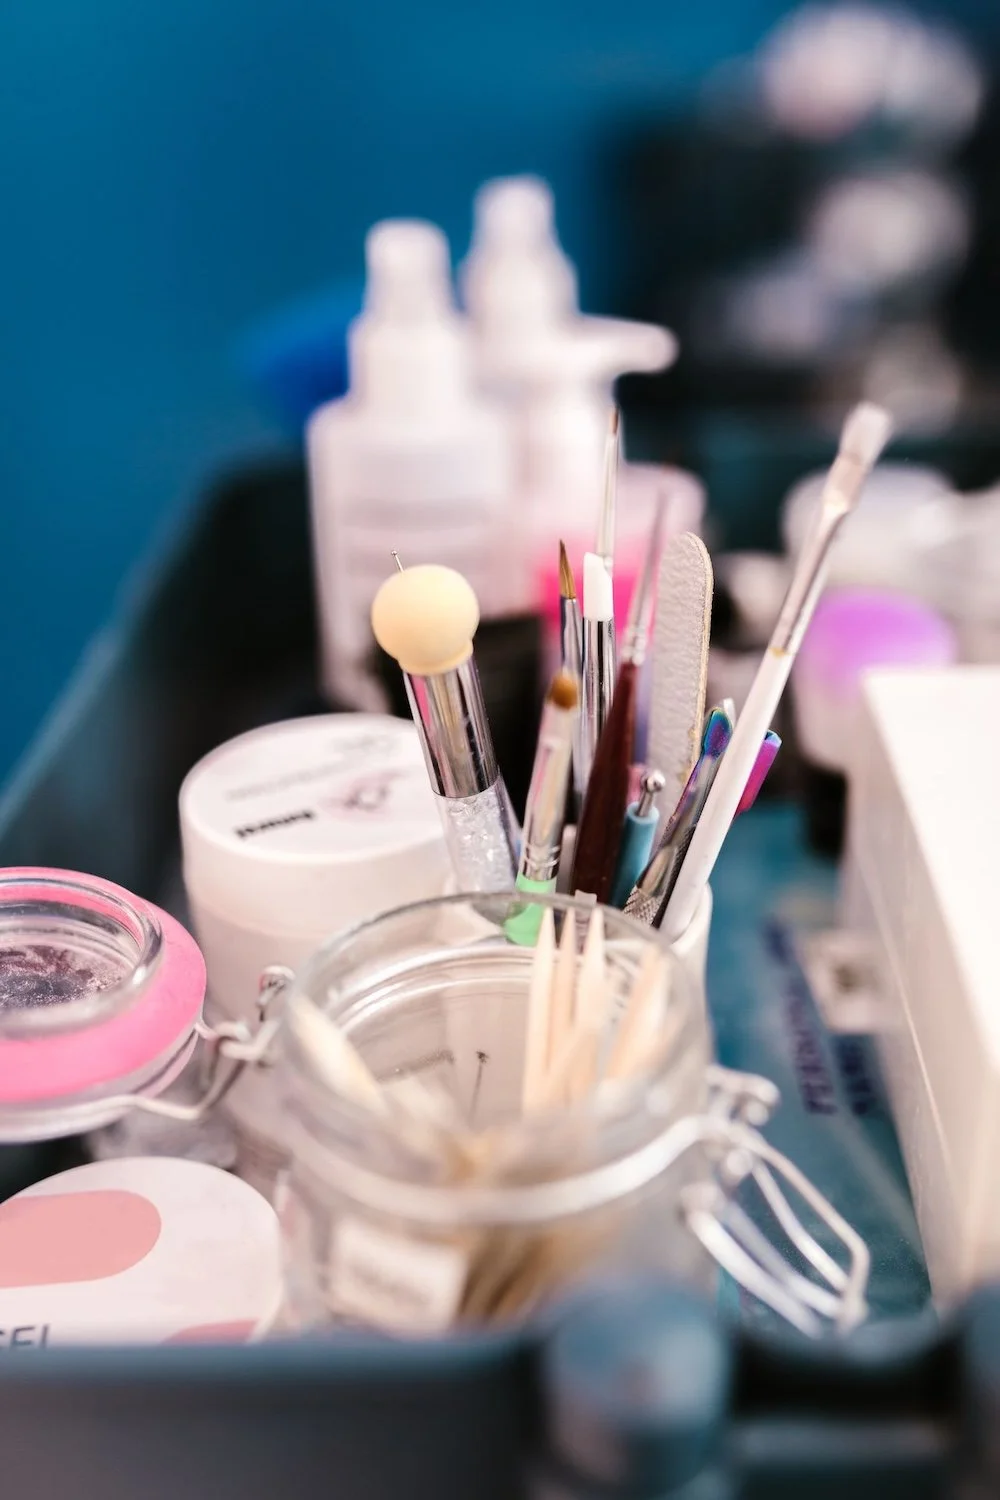
The basic tools and supplies for any manicure are:
Using base coat, color coat, and top coat polishes all from the same line is best, but if you don’t have matching brands for your trio, don’t worry.
For the most part, many standard nail polish brands mix and match well. Gel polish is another story.
To be extra thrifty, for the mini-trash bin, you can simply re-use a washed out plastic container or even a glass jar. I use an old tea tin.
Once you have your supplies out and ready, let’s move on to the next step.
Step 3). Remove any existing nail polish
If your nails are polish free, skip this step and head to Step 4.
Using your acetone and a fresh cotton pad, saturate the pad with your remover and gently remove any existing polish from all nails.
Place the used cotton pads in your mini-trash bin or pile on your towel.
If you have stubborn nail polish on, like glitter, fill a glass bowl with just enough remover to cover your nail tips, and soak the nail polish tips you want to remove in the acetone for a few minutes, then clean with a dry cotton pad.
Step 4). Cuticle care
Wash your hands, and now apply a cuticle oil of choice to the cuticle line of the nail.
Oil all cuticles generously with your selected oil.
Using the rounded end of your wooden cuticle stick, gently push up on the skin surrounding the nail bed. This step prevents hang-nails and lengthens the nail bed.
If any dead skin comes off the nail bed and onto your wooden stick or with your trimmers in this process, simply wipe it off on a spare cotton pad.
Now take the pointed end of the wooden cuticle stick, run it under the free edge of your nail tip and wipe any debris on your stick on the spare fresh cotton pad.
Discard the cotton pad when done.
Step 5). File the free nail edge
Making sure your towel or mat is underneath your nail tips, take your nail file, working in one direction only, file any jagged edges of the nail tip gently.
To shape your nail: I like to start with tapering in the sides of my nails first, and then shape the tips how I want them. I use the course grit first for the general shape and then go in with the finer grit side to finish.
Shorter nails will usually not need much filing, but even light filing, just to get the nail tip even, will create a smooth finish to your nails and prevent nail polish from later chipping due to rough edges, where the polish didn’t adhere entirely.
Now you’ll want to wash your hands with soap and water to remove the dust and the cuticle oil.
Step 6). Clean and prepare the nails for paint
Once your hands have been dried, inspect your nail edges and ensure that there are no unfiled bits of the nail still attached to your tips. If there are any remaining nail bits, simply take your file and clean up the edges one last time.
Now take a fresh cotton pad saturated with either acetone or isopropyl alcohol, and clean the nail one last time.
This step dehydrates the nail, helping with adhesion. It also removes filing debris, excess oils that haven't yet seeped in, and any remaining polish that may have run into the nail’s edges that were revealed when you pushed your cuticles back, leading to better adherence of your fresh paint coming soon.
Discard the spent cotton pad in your trash bin or pile.
Optional: If you have oily nail beds, like I do, go over your nails twice - using a fresh alcohol or acetone dipped cotton pad each time. It really helps to improve adhesion.
Step 7). Apply your base coat
You’ll be able to tell when it’s dry because the shine will look less wet and the plumpness will flatten.
If your base coat runs into your cuticle line, simply swipe it up with your clean up brush lightly damped with acetone and wipe the excess polish on a spare cotton pad.
In addition to protecting your nails from absorbing your color and improving adhesion, incorporating a base coat is a great way to add a strengthening treatment into your routine.
Many base coats include strengthening ingredients and they can work to keep your nails healthier looking.
Step 8). Apply your color coat
Roll your nail polish bottle between your hands to disperse the pigment for about (30-60) seconds and then open the bottle.
Making sure a full bead of nail polish is on the tip of the brush, apply your color to each nail using 1-3 long strokes per nail.
A solid color application technique is this:
Start your brush at the top center of the nail, just above the cuticle line, and dot a wet polish bead on the nail. Push it up toward the very edge of the cuticle, then pull it down to the tip.
Now move the brush to the top left corner, pull it to the tip. Then, move the brush to the top right corner, pull it to the tip.
Re-dip the brush back in the bottle between fingers to get a fresh bead of paint for each nail. Repeat this process for all nails.
If your nails are long you may have to re-dip the brush in the polish bottle one extra time during the above technique for each nail. If you do need to get more polish on your brush, mid-coat, try to work quickly to avoid creating streaks in the setting paint.
Now that all nails are done with the first coat, let it dry for 2-5 minutes or so if using a standard polish, 1 minute for quick-dry. Then, repeat the process for a second coat.
If your color is not opaque by the second coat, apply a third color coat.
You should not need to apply more than 3 coats of color with any nail polish to get the opacity you desire. If you are finding you are needing to do 4 plus coats, it may be time to consider switching to a brand known for better pigmentation.
If you are using sheer polish, this won't apply. Additional coats won't usually build too much opacity but could deepen the color.
As above, if your color coat runs into your cuticle line during any point in this process, simply wipe it up before it dries with your clean up brush dampened in acetone and wipe the excess polish on a spare cotton pad
Some brands make colors that are thinner than others, and some nails are more curved than others.
Depending on the color, brand and your natural nail, you may end up with more cuticle clean up sometimes - this is just part of it!
Step 9). Apply your top coat
Let it dry for 3-5 minutes for a standard top coat, or 1 minute for a quick-dry top coat. There is some variance to dry times depending on factors like coat thickness and relative humidity.
Thinner coats will dry more quickly, and on more humid days, your polish may dry more slowly.
For example, for the longest time, I couldn’t get nail polish to dry in July and August at all, because where I live, these months are so humid.
Until I switched to quick dry polishes during these months like the essie expressie line.
If any of your color coat comes off on the top coat brush in this process, you can reduce this transfer by ensuring that the top coat bead on your brush is nice and plump, and only touch this lacquer bead to your nails - avoid letting the bristles touch the below color coat.
Use the brush bristles only to carry the top coat down the nail by floating your brush parallel to the nail and refilling your brush with top coat between every nail and sometimes, between strokes, for longer nails.
The “float technique” is typically used for sheer polishes to avoid streaking, but you can also use it when applying top coat to prevent your color from transferring to the clear coat.
If it happens, don’t worry though. Simply wipe your brush tip on your towel or a lint-free cotton pad before dipping it back in the bottle, and continue the application.
Step 10). Add finishing touches as your freshly manicured nails fully sets
Nail polish will dry on its own without drying drops, but these products do speed up the drying process.
To avoid polish dents as your manicure fully cures, which could take up to a few hours, avoid applying pressure to your nails, and keep your hands away from high heat and water.
No baking in the oven right away or taking a long, hot shower. Do not immediately get into a hot tub either. Put off any chores that would have you pressing on your nails for a bit, like putting a fitted sheet on the bed.
This will assure your fresh manicure lasts as long as possible and does not dent prematurely.
To finish, clean up your nail station, empty your trash bin or clear your trash pile whenever you are ready to get moving.
Then sit back and enjoy the majesty that is your fresh new manicure.
If you can, take your time before moving onto your next big thing, to really soak in the beauty of your new work of art - your manicure!
These are the 10 Steps For Professional DIY At-Home Manicures that you love to look at, any chance you get.
With the above information and a little practice, you’ll achieve professional looking manicures you are proud of from the comfort of your home on a consistent basis.
If you enjoyed this guide, please subscribe to the blog through any of the subscribe boxes on the blog. You’ll receive new nail blogs directly from me to your inbox.
To manicure dreams and beyond ~
Other Articles You May Enjoy:
As a Target.com Affiliate, this site earns a commission through qualifying purchases. Amazon and the Amazon logo are trademarks of Amazon.com, Inc. or its affiliates.